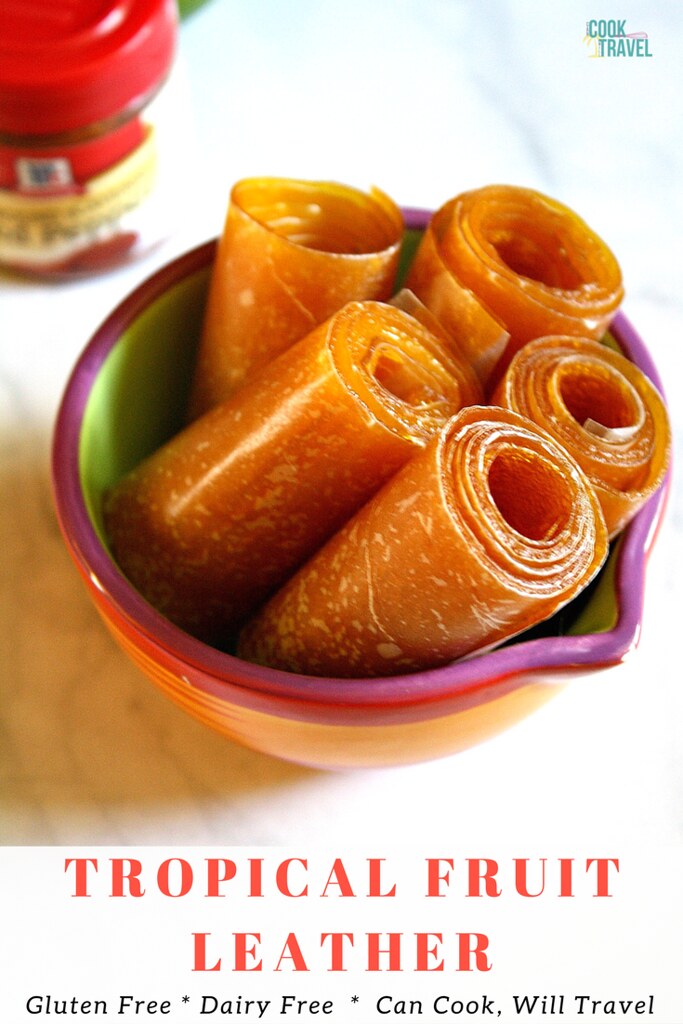
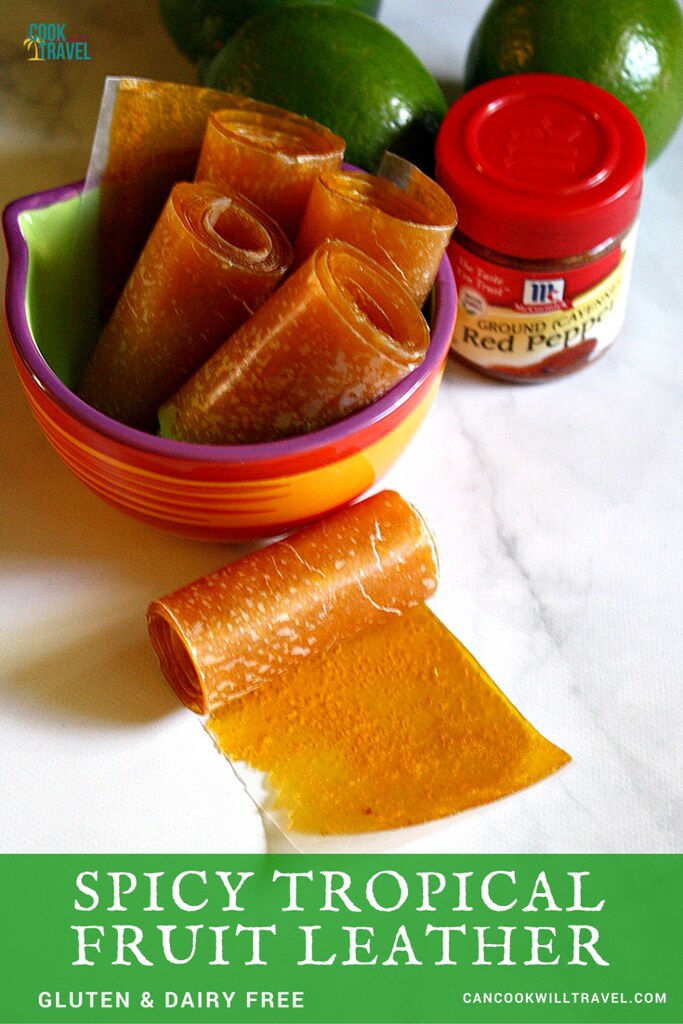
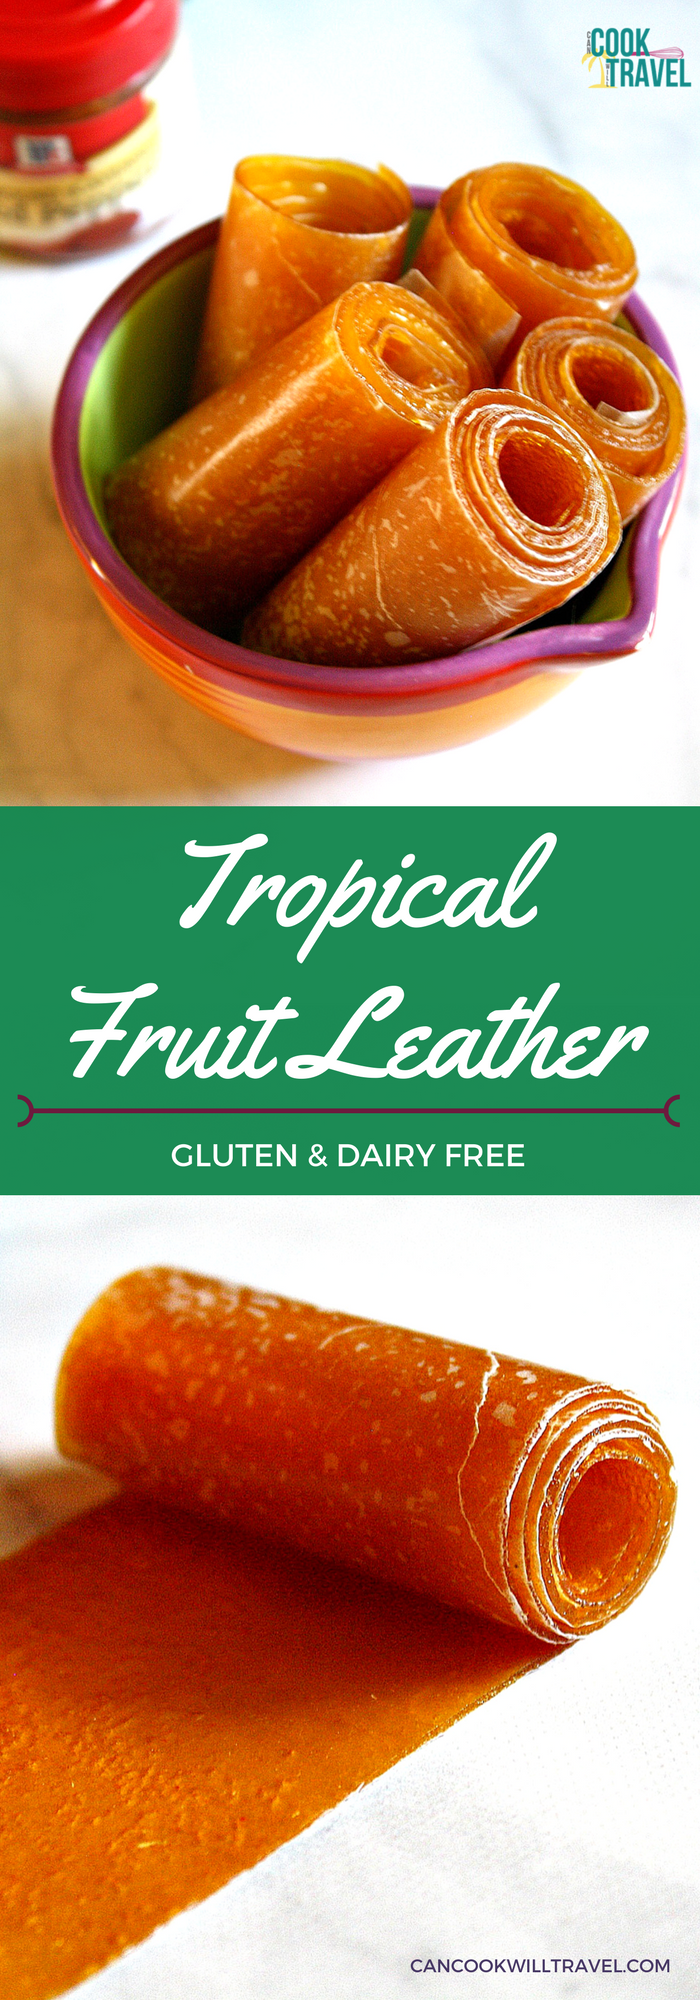
Okay I felt like I just went back in time a bit with this Tropical Fruit Leather recipe. My 12-year-old self is doing her happy dance right now, and it’s pretty cute! I couldn’t even tell you the last time that I had the classic fruit roll up from my childhood, but it’s been a while.

My favorite snacks as a kid for the old lunchbox were fruit roll ups and fruit snacks, but rarely did I get to bring my lunch to school. Unless we were on a field trip, I was rocking the school lunch line. (Don’t be jealous.) But every once in a while my mom would pick up a box of the coveted fruit roll ups, and I loved them!
Now as a kid, I paid zero attention to ingredients, preservatives, and amount of sugar in my food. But I definitely do now, which is why I was so excited to make this all natural Tropical Fruit Leather recipe! Not only did I get to experiment with flavors, but I also got to control the quality of ingredients. And while this does have more sugar than I prefer, the fact that it comes directly from natural ingredients like fruit and agave, makes it A-okay in my book! Just balance it out throughout the day with less sweet food too.
Let’s start with what puts the “tropical” in our Tropical Fruit Leather, in the form of mango and pineapple. Now if you’ve followed me the past couple of months, I’ve obviously been on a mango kick, so this should be no surprise to you. I love the mix of pineapple and mango to add sweetness and some freshly minced ginger adds a little oomph!

Then I used coconut water and lime juice along with some agave nectar as the liquids in my Tropical Fruit Leather. And then the kicker was a dash of sea salt and a pinch of cayenne. That cayenne seriously took the fruit leather to a whole new level, but if you’re making these for kiddos, just skip the cayenne. It’s not spicy but just adds a lovely warmth!
This was my first attempt at making my own version, so I was definitely playing with flavors, and this time it was a success! So just blend everything until it’s perfectly smooth. I like to thaw any frozen fruit I’m using in the microwave for 60 seconds or so.
Once it’s totally smooth, you want to cook the fruit mixture down so it’s nice and thick. To do that you pour the fruit into a pan and heat it over medium heat and let it boil. The key here is to stir it constantly for 10-15 minutes, because you don’t want it to burn and you need to keep checking the texture. Mine reduced by close to half and was nice and thick, so with each stir I could see the bottom of the pan.
Carefully transfer it to a baking sheet lined with a Silpat, and I definitely recommend the Silpat for this task. If you don’t have one, you can learn more about it from a previous post I wrote and pick one up on Amazon here! I always have 2 on hand, and they’re ridiculously handy.

Spread the fruit into a thin, even layer in a rectangular shape. Mine ended up being about 10” x 14” or so. You want it as even as possible so that it bakes evenly, so an offset spatula is particularly useful for this task.
Then bake in a 200 degree oven for 3+ hours. I could’ve baked mine longer, because I had some spots that were thicker than others, but it still worked great. Once the mixture has dried out and is still slightly tacky and is flexible, you’re good to go.
I let mine cool on the Silpat, and then I gently pulled the Tropical Fruit Leather away from the Silpat. I pressed some waxed paper onto it as as a backing, which helped me carefully pull it from the Silpat. Then it’s a matter of using kitchen shears and a ruler to help cut the fruit leather into even pieces.
If you know me, you’ll know that I’m pretty bad at cutting a straight line. But I think you’ll find my tips in the recipe post will help you, because mine turned out great! And the taste is seriously stellar! I loved the fruity, tropical flavors and the oh-so subtle heat from the cayenne.
This Tropical Fruit Leather recipe is so fun to eat, and I’m excited for you to make this healthy snack. Click that link for the recipe and step by step instructions! Happy eating!
A look back:
One year ago: Learning to Love Salads – Part 20: Pesto Quinoa Salad
Two years ago: Whole Wheat Chocolate Chip Pancakes Make Breakfast a Whole Lot Better!
Three years ago: Feeling Like Popeye: Spinach with Feta and Pine Nuts
Four years ago: Blueberry Scones – Don’t Mind if I Do!
Five years ago: Crab Rangoon for Everyone!
Six years ago: Learning to Love Salads – Part 3: Basil Chicken Salad


Leave a Reply