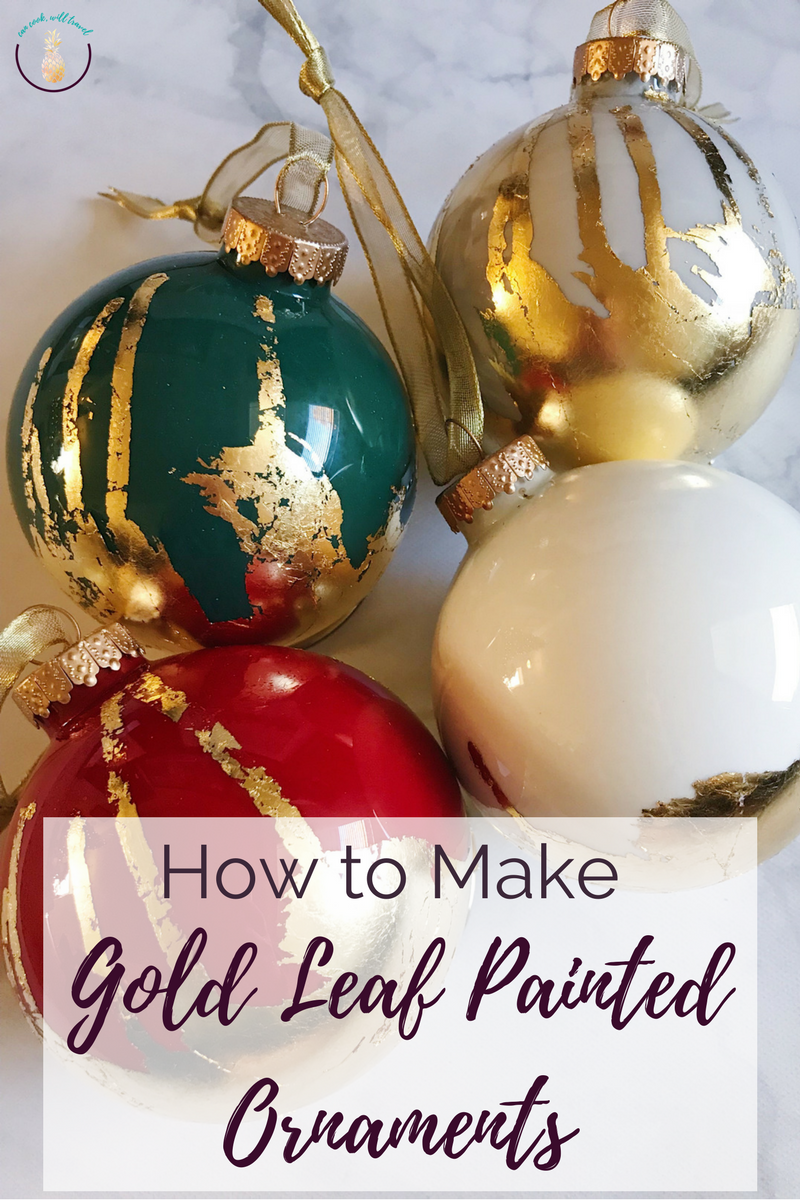
I’ve been in a really crafty mood lately! I think it’s because work has been stressful the past few weeks, and being creative is such a great distraction. And with Christmas coming up, I thought making something for the tree would be fun. So I found this Gold Leaf Painted Ornaments project from the blog The Sweetest Occasion.

Now I have a total love for ornaments. The past several years now, I always find fun ornaments for my family and friends when wrapping their gifts. It’s kinda become my thing, and I know they look forward to which ornament(s) they’ll get.
And it’s been probably 5 years now that some of my college girlfriends and I do an ornament exchange. Each year we swap names, buy one ornament for someone in our group and meet in our college town for lunch and to catch up. And it’s so fun to see where they go to find ornaments, because we all tend to shop at different spots. I’m a big fan of Target and Pier 1 for ornaments, and this year I gave a really fun beaded tree ornament from Pier 1. (I used to work there, so I might be a bit biased about their Christmas decor.)
So you can tell that ornaments are a big part of my Christmas tradition. I first shared this in a post last year all about why ornaments make amazing gifts. So definitely check it out!

But onto these Gold Leaf Painted Ornaments. I always find amazing looking craft projects all over Pinterest, but something about these guys just made me think that I had to try them myself. I’d never worked with gold leaf before, so I was slightly intimidated by it. But I love the style of gold leaf, so I was too curious not to try it out.
I’m happy to say this was a Pinterest success story! No fail here. So here’s how it’s done.
How to Create Gold Leaf Painted Ornaments:
What you’ll need:

- Glass Ornaments
- Craft Paints (whichever colors you’d like)
- Gold Leaf (plus sizing/adhesive and sealer)
- Ribbon (for hanging the ornaments)
- Gold spray paint (for tops of ornaments if you want)
- Paint brushes (3 total should be enough for the gold leaf process)
NOTE: I did a second round of these ornaments because they are so beautiful and round 2 turned out even better. I loved Martha Stewart’s craft paint (that works on glass) and her gold leaf sheets because you don’t need to put a sealant on them, which looks so pretty!
Step 1: Paint

Depending on how large your ornaments are will depend on how much paint you need. This part will take the longest and the most patience, but squirt a good amount of paint inside the ball and let it coat the interior of the ball adding more paint as needed. I found that gravity and tapping the ball against the palm of my hand helped the paint to coat the inside of the ornament.
Step 2: Dry Paint

If you have plastic cups you can turn the ornaments upside down so they can drain into those. Or I just used a TON of paper towels to help collect all of the excess paint.
Step 3: Paint tops of Ornaments

If your ornaments have a silver top, which mine did, then you may want to spray paint them gold. That’s what Cyd at The Sweetest Occasion did, and I like how it looks cohesive, since you’re going to use gold leaf.
Step 4: Adhesive

Apply the sizing (or adhesive) that is specific for gold leaf application to the spots on the ornament where you want the gold leaf to go. I was not expecting it to be as thin as it is, so my first couple, I applied more than I intended and the adhesive dripped a lot. I was afraid I wouldn’t like that but I think those are the ones I like the best!
Let the adhesive dry according to the packaging. Mine said to dry for 20-40 minutes or until it was sticky.
Step 5: Apply the Gold Leaf

Gold leaf sheets are extremely delicate, so handle them gently. I used one sheet per ornament. Just gently press the gold leaf sheet onto the ornament where the adhesive is. And then use a dry paint brush to smooth over the gold leaf and remove any excess.
Step 6: Seal the Gold Leaf

In order for the gold leaf to not oxidize and turn colors, you need to seal it with special sealant. (At least my gold leaf I purchased recommended that.) So with a separate paint brush, apply the seal over the gold leaf in at least 2 coats.
A note here: I applied it over the entire ornament, and next time I think I’ll just apply it over the gold leaf areas. Then let the sealant dry completely.
Step 7: Finish it Off

Once the ornaments have dried and all excess paint has dripped out, then you can finish it off. Add the ornament tops to the ornaments and then tie them off with a coordinating ribbon.

And that’s it! I love this look for an ornament and am so glad I tried my hand at this project. I will definitely be making more of these Gold Leaf Painted Ornaments to perfect their look. Plus they’re absolutely gorgeous!
These Gold Leaf Painted Ornaments make great gifts too. You can figure out what your friends’ Christmas decor is like and tailor the ornament color to match their decorations. I tend to have a lot of red and gold, so I knew I’d do a red color. And then I wanted more neutral colors so a light grey always looks pretty with gold. And since my alma mater’s colors are black and gold that seemed like a great third option.
I cannot wait for you to try your hand at making these Gold Leaf Painted Ornaments! I got the supplies at Michaels, while I had a ton of great coupons to use. And each ornament cost me about $4.30 or so a piece to make. Love that! What colors are you going to use?
Stay inspired & go create!
~Kelli


I love this! I’ve been gold leafing awhile but never Xmas ornaments. I’ve done 5 thus far 1 red 1 green 1 blue glitter 2 winter white. I think I like the winter white the best. Elegant. I plan on handmade gifts this Xmas. Thank for the easy instructions
You’re so welcome! I love my white ones as well – so classic and go with nearly any tree 🙂
THANK YOU FOR THIS!
I thought I came up with a genius idea, but you literally have it figured out. Thanks again!
You’re so welcome! I wish I could take credit for it, but I have to say it’s been one of my favorite crafty projects I’ve done in ages. They make such beautiful ornaments to give (and keep)!