

(Recipe can be found on the site AbesMarket.com here.)
Step by Step Instructions:
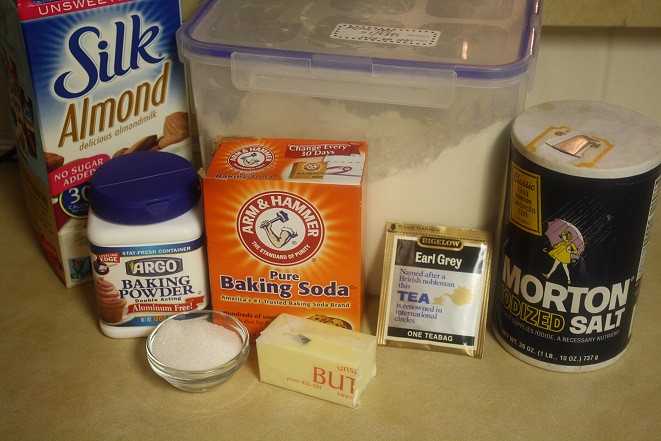
You won’t believe how fast these Earl Grey Scones with Lemon Glaze come together. Here’s what you’ll need for the scones: Milk (Almond Milk for me), Flour, Baking Powder, Baking Soda, Sugar, Butter, Earl Grey Tea (you want the tea leaves out of the tea bag), and Salt.
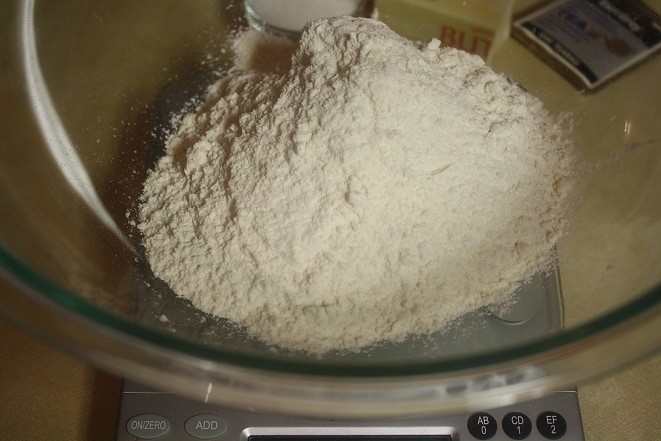
Start off by preheating your oven to 350 degrees. Then grab a large bowl and measure (or weigh in my case) 2 cups of all-purpose flour.
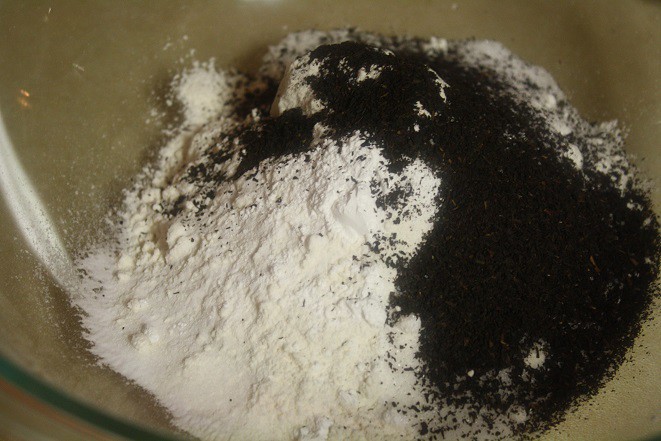
Then add the rest of the dry ingredients to the bowl including a teaspoon each of baking soda and baking powder, a pinch of salt, 2 tablespoons of sugar, and 1 tablespoon of Earl Grey tea (it was about 4 tea bags if you go that route).

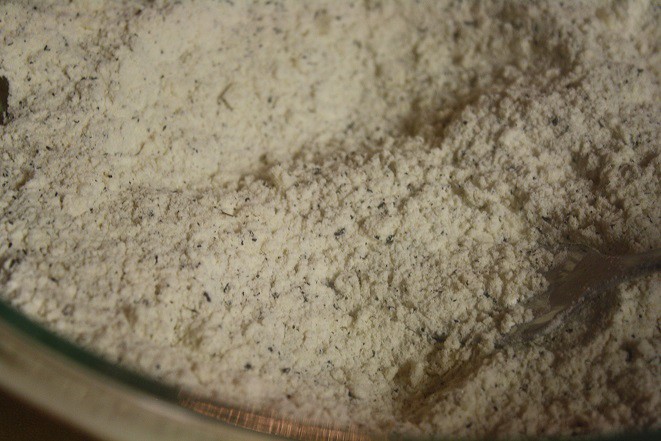
Then stir your dry ingredients together.

Then dice 1/2 a stick of cold butter (careful to handle it as little as possible so it stays cold).
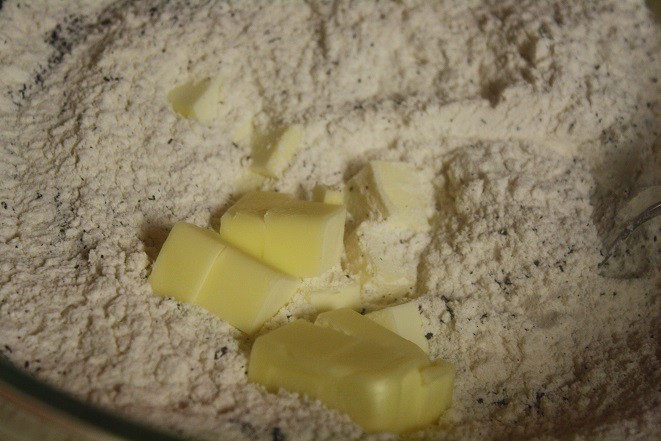
Add the butter to the flour mixture.
Then you’ll cut in the butter into the flour. I used a pastry fork to help break up the butter while also incorporating in the flour. You’ll see it’s pretty crumbly looking – that’s the flour broken up into little pieces.
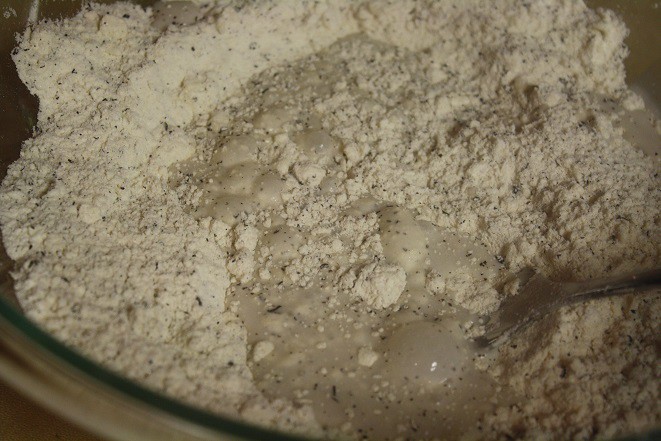
Then add in 1/2 cup of milk.
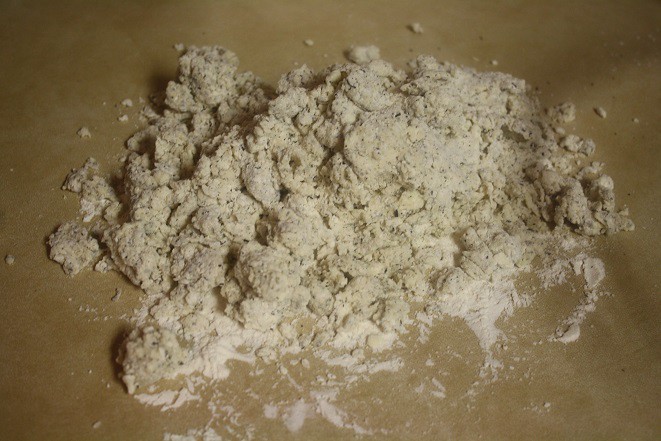
Knead the mixture until it starts to come together in the bowl and then turn the dough onto a lightly floured work surface. Continue kneading until it forms a nice dough ball. Just know you may feel like it isn’t going to happen for you, but keep on kneading. I promise it will!
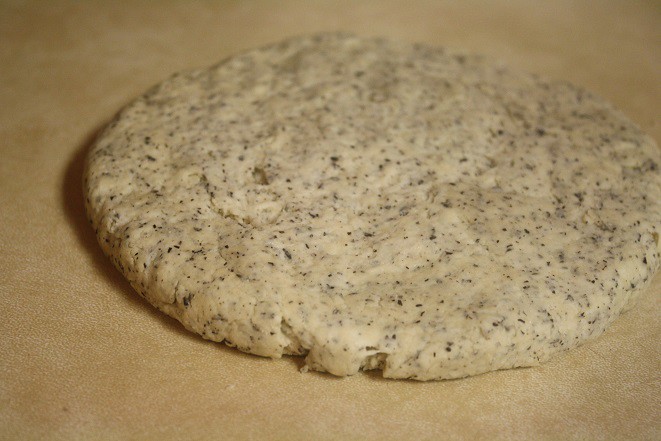
Here is the dough after a good amount of kneading. Form it into a large disk. Mine was about 6.5 to 7 inches in diameter.
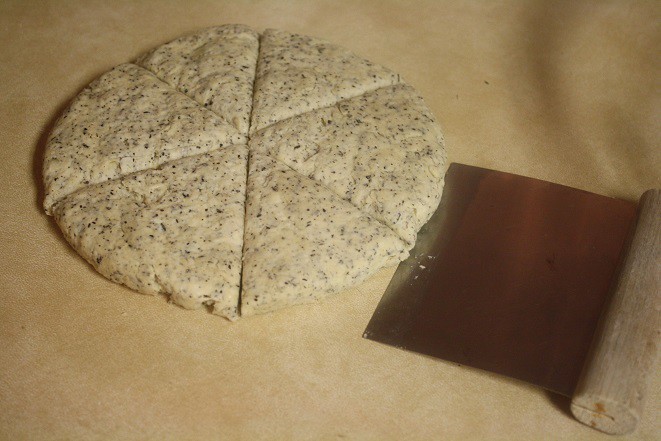
Then cut the disc into 6 even triangles. I find a bench scraper super help for this task.
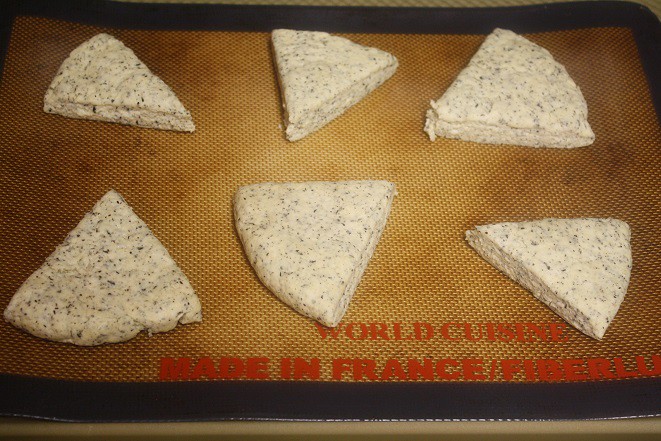
Then use the bench scraper to help you carefully transfer the scones to a lined baking sheet. I lined mine with a Silpat, which worked like a charm! Bake the scones for 15-18 minutes …

… or until they are lightly browned on the top.
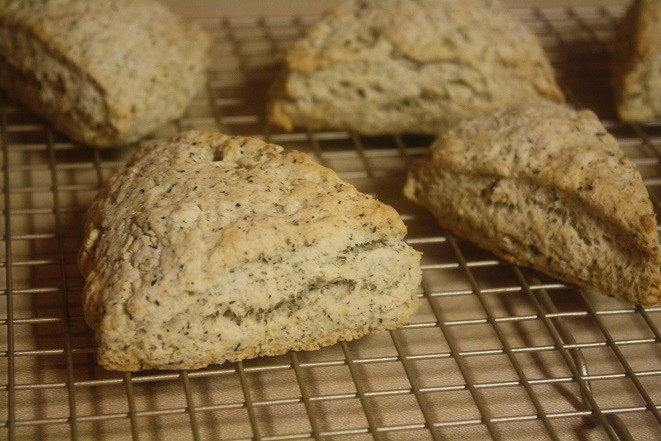
After a minute, move them to a cooling rack and let them cool completely.
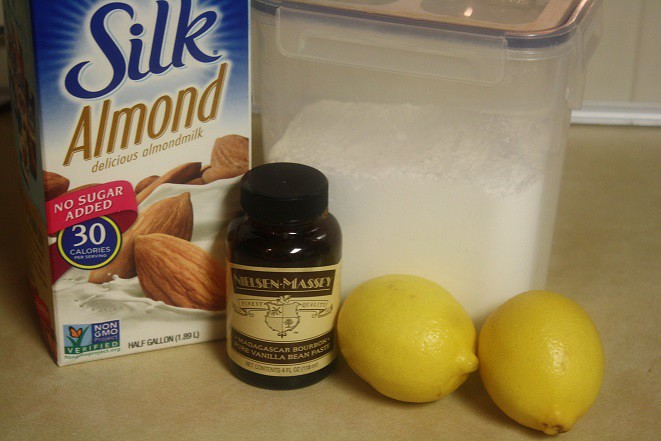
While the scones cool, whip up the lemon glaze. You’ll need: Milk, Powdered Sugar, Vanilla Bean Paste (or extract), and 1-2 Lemons based on how large they are. (I used 2.)

In a small bowl add 1/2 cup of powdered sugar.
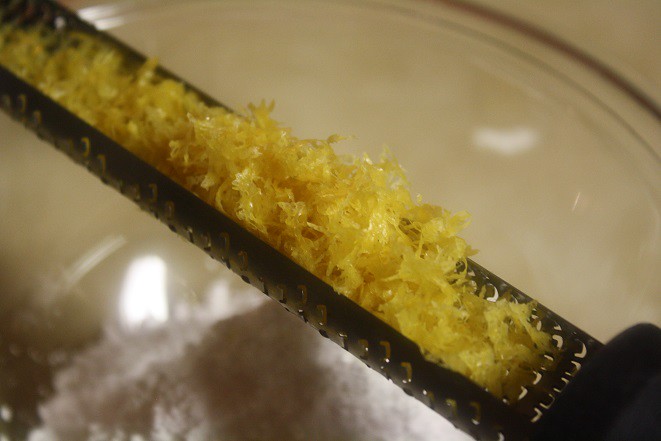
Then zest the lemons, but be sure you wash them first. (Just sayin.) I love my microplane grater!
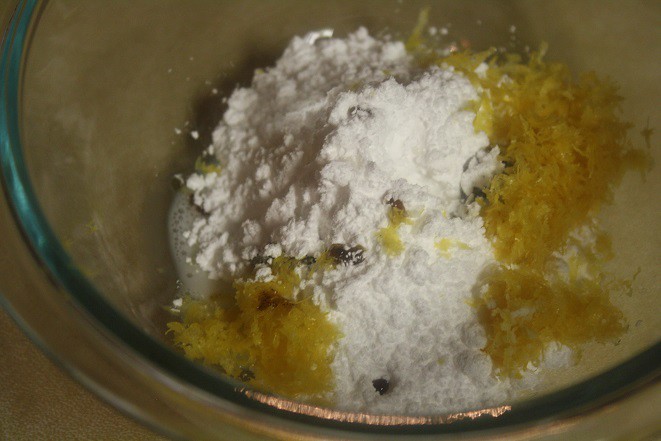
Then add the zest, a dash of the vanilla bean paste, and 1/2 tablespoon of milk and whisk away.
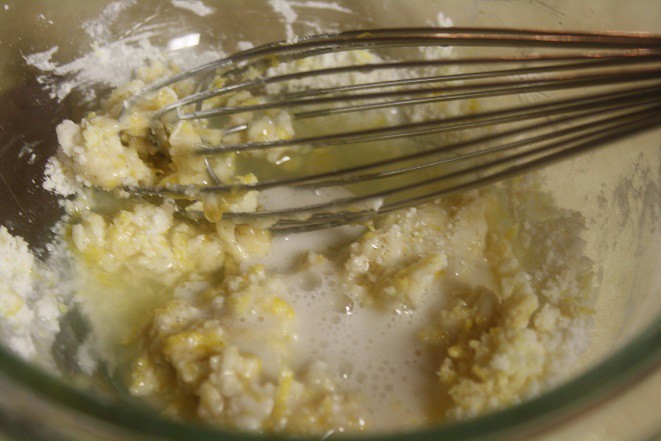
I found mine was still pretty solid so I added a little more milk and the juice of half a lemon and a little more powdered sugar.
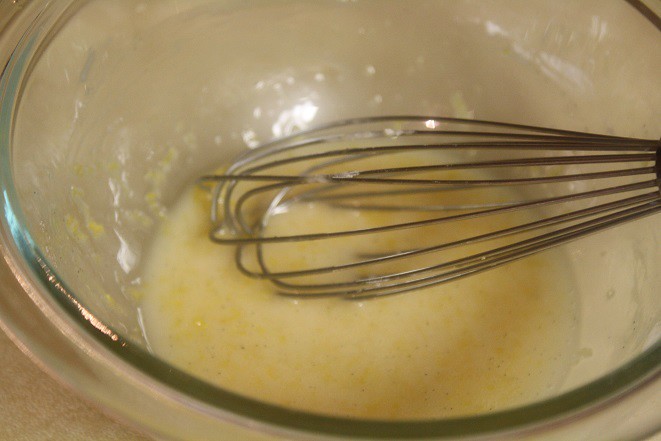
Then whisk your heart out until you have no more lumps from the powdered sugar.

Drizzle the glaze over the cooled scones and dig in! I can’t wait for you to enjoy this light, yummy scone with the bit of citrus and scent of the tea. So good! Enjoy and happy scone making!!
- 2 cups Flour
- 1 tsp Baking Soda
- 1 tsp Baking Powder
- Pinch of Salt
- 2 T Granulated Sugar
- 1 T of your favorite loose leaf Earl Grey Tea
- ¼ cup Butter
- ½ cup Milk or milk alternative (I used almond milk)
- ½ cup Powdered Sugar
- ½ T Milk or milk alternative
- Dash of Vanilla Bean Paste (or extract)
- Zest of 1-2 Lemons (mine were pretty small so I used 2)
- Begin by preheating the oven to 350 degrees.
- In a large bowl, whisk together the flour, baking soda, baking powder, salt, sugar, and tea.
- Next up add in ¼ cup of cold butter diced into cubes and cut it in the flour mixture. I like to use a pastry fork to help me with this. (Just don't use your hands and you'll be great.)
- Then add the milk to the dough and knead it with your hands. Turn it out onto a lightly floured surface and continue to knead until the dough comes together. (Don't worry, it will!)
- Shape the dough into a large disc (about 6½ to 7 inches in diameter). Then slice it into 6 pieces. Bake the scones on a lined baking sheet for 15-18 minutes or until the tops of the scones turn a light brown.
- Whip up the glaze by whisking together the ½ cup of powdered sugar, ½ tablespoon of milk, a little bit of vanilla extract, and the zest of 1-2 lemons depending on how large your lemons are.
- Once your scones are totally cool, drizzle the glaze over the top and enjoy!
1

Leave a Reply