
(Recipe can be found on the site Carlsbad Cravings here.)
Step by Step Instructions:
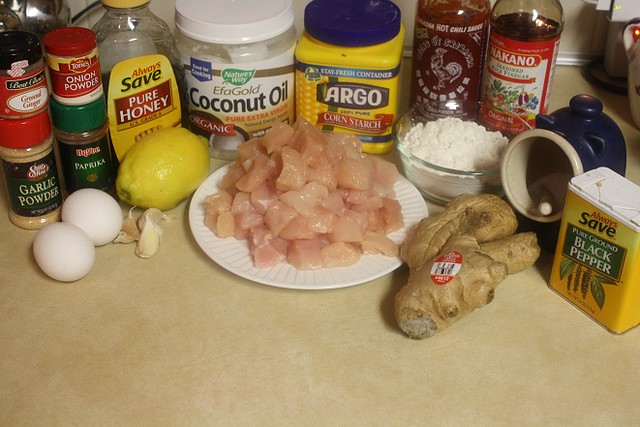
Sticky Honey Lemon Ginger Chicken is packed with flavor. Here’s what you’ll need: Ground Ginger, Garlic Powder, Onion Powder, Paprika, 2 Eggs, 3 Cloves of Garlic, Honey, 1 Lemon, Coconut Oil, 1.5 pounds of Chicken (pounded thin and cut into bite-sized pieces), Cornstarch, Sriracha (optional if you want to add a kick), Rice Vinegar, 1 cup of Flour, Fresh Ginger, Salt & Pepper.
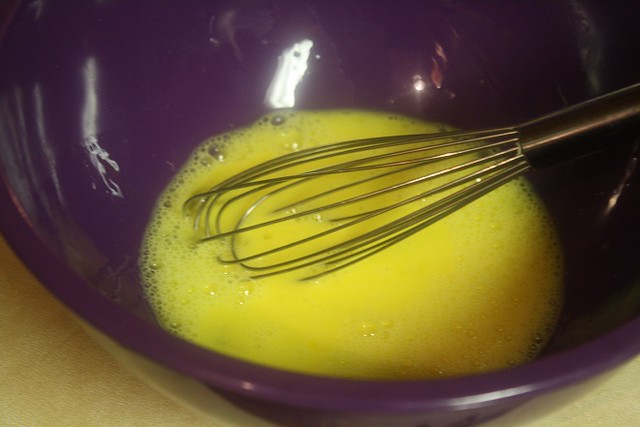
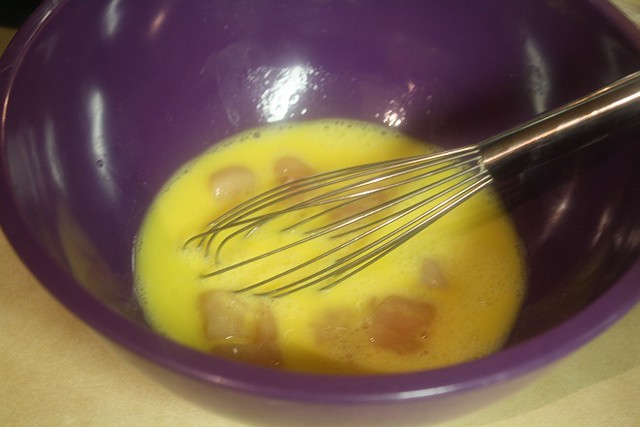
Before you do anything, get the oven preheated to 375 degrees. In a medium-sized bowl whisk together 2 eggs and 2 tablespoons of water and set the bowl aside.
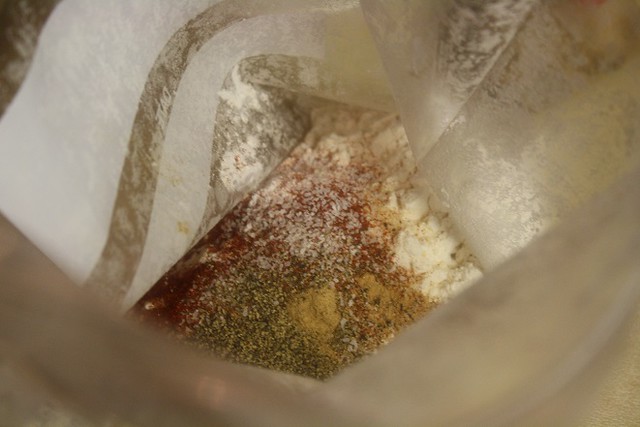
Grab a large, freezer ziploc bag and pour in a cup of flour, 2 tablespoons of cornstarch, 1 tablespoon of ground ginger, 1 teaspoon of onion powder, 1 teaspoon of garlic powder, 1 teaspoon of paprika, and 1/2 teaspoon each of salt and pepper.
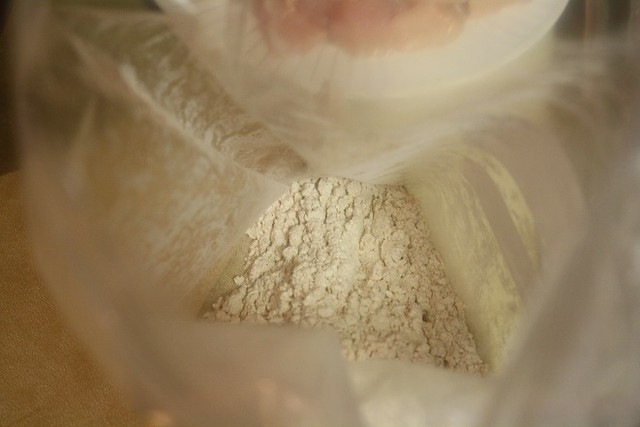
Then close the bag and use your hands to help mix the flour around to combine the breading mixture.
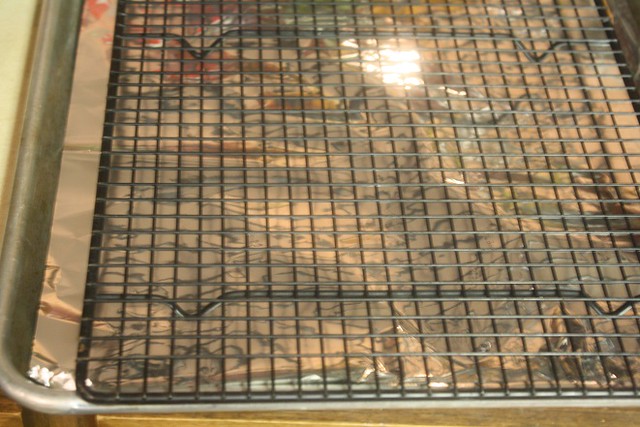
To help the chicken bake more evenly, I lined a rimmed baking sheet with foil, then laid a wire cooling rack over the top of the cookie sheet. And then you can spray with cooking spray if you’d like.
Now you’ll want to work on breading the chicken in 4 or 5 batches. Add a handful of chicken to the eggs and make sure they are coated on all sides.

Then you’ll want to shake off as much of the eggs as you can before adding the chicken to the flour mixture. I found a couple of paper towels really helpful to absorb the excess eggs.
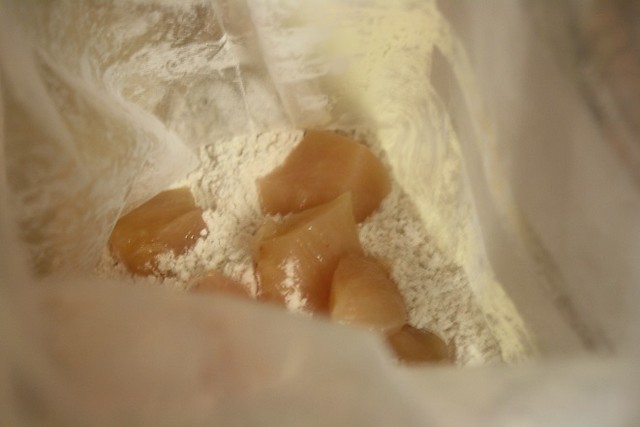
Then drop the chicken in the flour and move them around until they are coated on all sides with the flour mixture. Then shake them really well so the excess flour is removed.
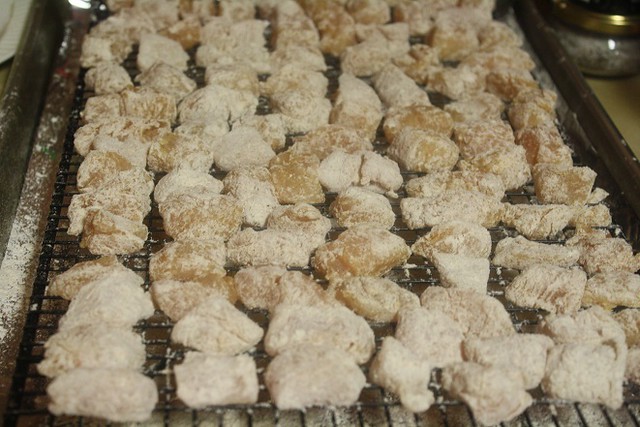
Then place all of the chicken in a single layer on the baking sheet once they have the breading on them. You’ll see my wire rack was packed with chicken.

Then lightly spray cooking spray over top. This step helps the chicken to get a crispier crust that browns more easily. Then bake in the preheated oven for about 10 minutes.
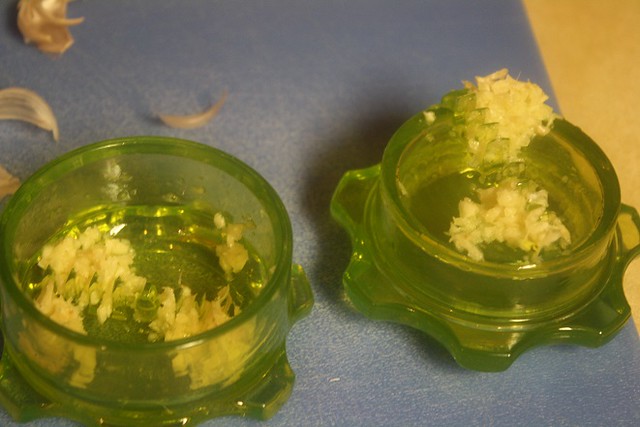
Mince 3 garlic cloves. This little gadget is great for mincing without your hands smelling like garlic.

Then cut off a good sized chunk of ginger. Use a paring knife to cut the skin off of the ginger.

Carefully grate the ginger with a microplane grater until you have 2-3 tablespoons of grated ginger.
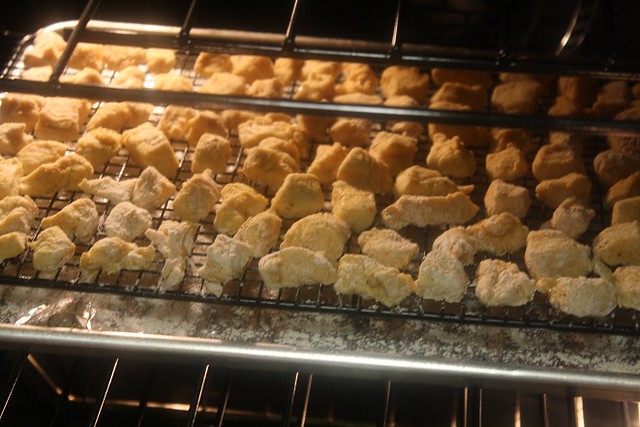
After 10 minutes of baking, move the baking sheet if you need to so that it is 8-10 inches from the cooking element at the top of oven. Set your oven to broil. Then broil your chicken (crack the door open during this step) and let the chicken broil for 3-5 minutes or until the start to brown. You can flip them and let them brown on the other side if you’d like. I didn’t end up doing that out of pure laziness…there were a lot of chicken pieces that would need flipped.
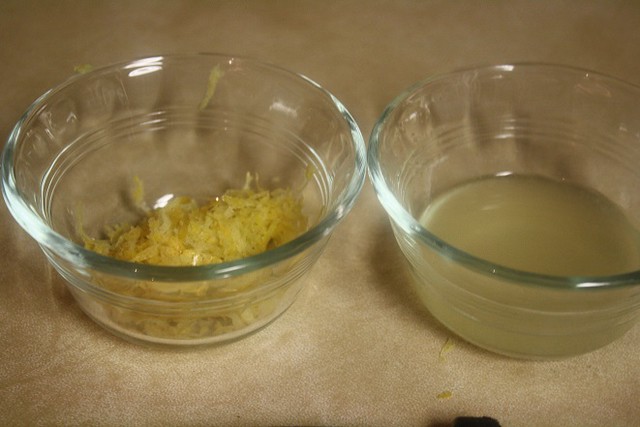
While the chicken broils, zest one lemon and juice the lemon as well.
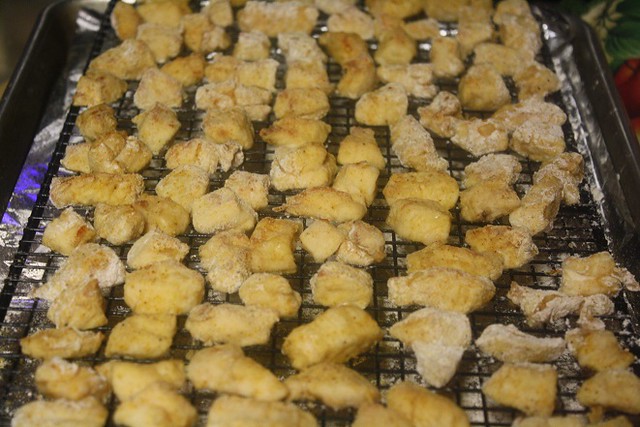
Here’s the chicken after about 5 minutes under the broiler. You can see it’s slightly browned. Just set it aside until the sauce is done.
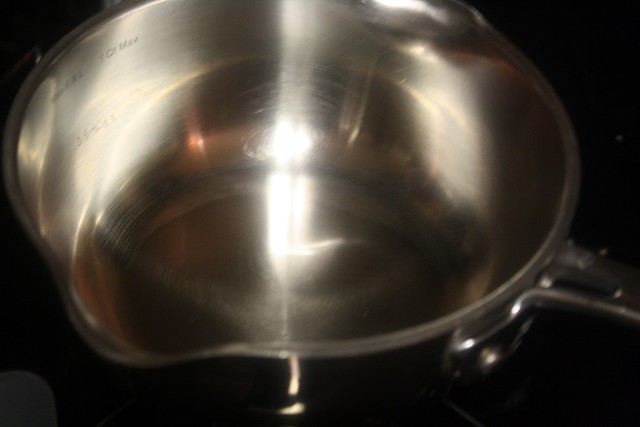
To make the sauce, grab a small sauce pan and melt 1/2 teaspoon of coconut oil over medium heat.

Then add the ginger and garlic to the hot oil and saute for about 30 seconds.
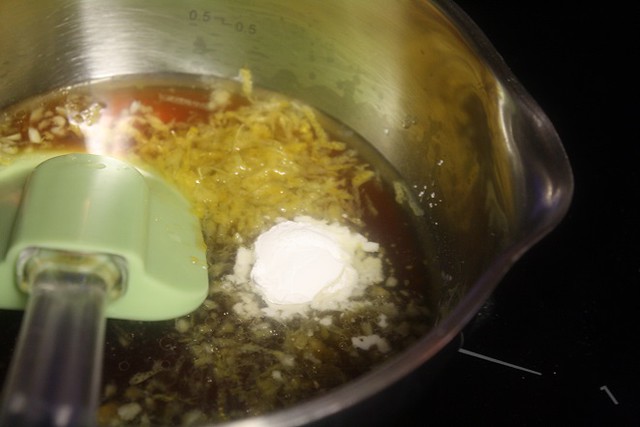
Then add 1/2 cup of honey, the lemon zest, 3 tablespoons of lemon juice, 1 tablespoon of rice vinegar, and 1 teaspoon of cornstarch.
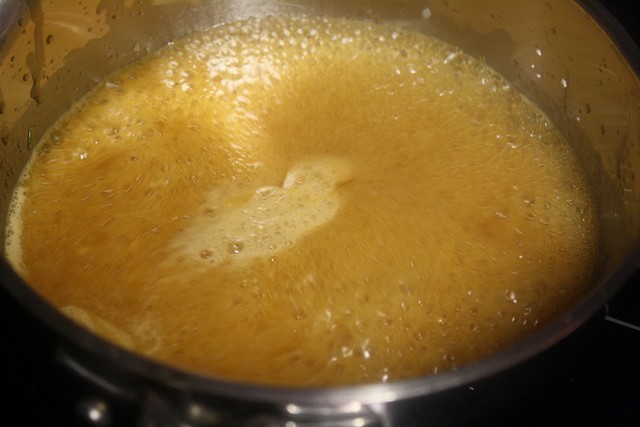
Stir the ingredients and turn up the heat to bring the sauce to a boil.
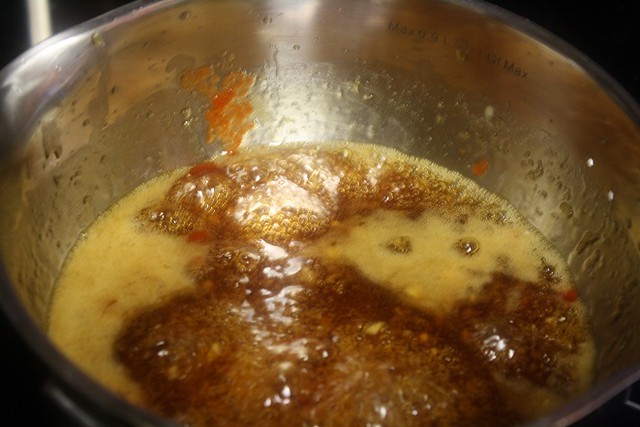
Once the sauce is boiling, turn the heat to low and simmer for about 2-3 minutes or until the sauce reduces and thickens up. Then you can add some Sriracha to make it a little spicy. This is totally to your taste, so try the sauce and add as much or little as you’d like.
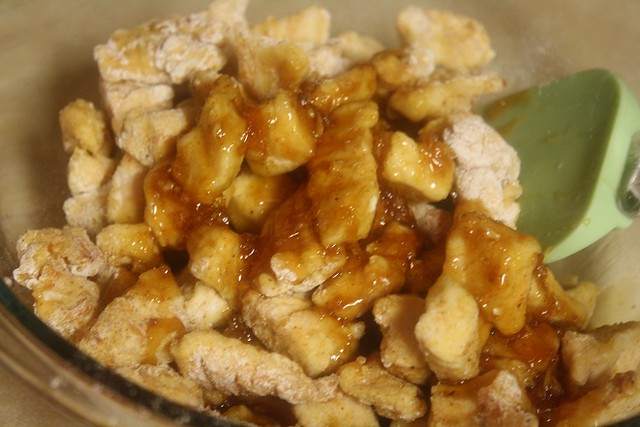
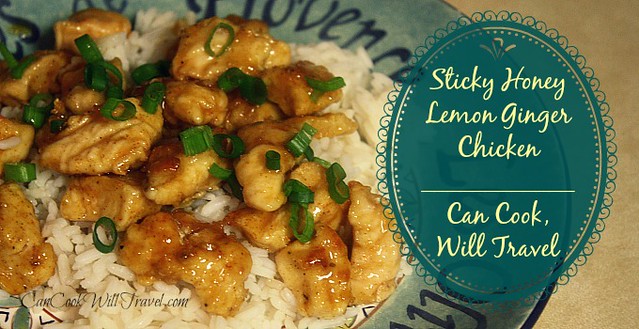
Then put the baked chicken in a bowl and pour the finished sauce over it, and stir away until the sauce completely coats the chicken. Then serve right away over your favorite rice, top with some green onions for color, and enjoy! Happy breading & baking!!
Makes approximately 4 servings
Ingredients:
Chicken:
1 1/2 pounds Chicken breasts, pounded thin (so chicken is even thickness), cut into bite size pieces
2 Eggs
2 tablespoons Water
Chicken Breading:
1 cup Flour
2 tablespoons Cornstarch
1 tablespoon Ground Ginger
1 teaspoon Onion Powder
1 teaspoon Garlic Powder
1 teaspoon Paprika
1/2 teaspoon Pepper
1/2 teaspoon Salt
Honey Lemon Ginger Sauce:
1/2 teaspoon Coconut Oil (can use olive oil)
3 cloves Garlic, minced
2-3 teaspoons freshly grated Ginger
1/2 cup Honey
3 tablespoons fresh Lemon juice
Lemon Zest from 1 lemon
1 tablespoon Rice Vinegar
1 teaspoon Cornstarch
Sriracha (Asian hot chili sauce) to taste
Preparation Instructions:
1. Start by preheating your oven to 375 degrees. Grab a large cookie sheet and lay aluminum foil over the bottom of the cookie sheet. Place a wire rack over the baking sheet and spray with cooking spray. Then prep your chicken. Once the chicken is cut, get a medium-sized bowl and whisk 2 eggs and 2 tablespoons of water together.
2. In a plastic, freezer bag, mix together the breading for the chicken including a cup of flour, 2 tablespoons of cornstarch, a tablespoon of ground ginger, a teaspoon each of onion powder, garlic powder, and paprika, followed by 1/2 teaspoon each of salt and pepper.
3. Then in batches, put the chicken pieces in the egg mixture, and once coated shake as much egg off of the chicken and pat with with a paper towel to absorb the excess. Then drop the chicken into the plastic bag with the flour mixture. Once the chicken piece is completely coated, shake off the excess flour. Place each floured piece of chicken on the baking sheet in a single layer.
4. Once all of the chicken is coated in egg and flour, and is laid on the wire rack, bake for 10 minutes. Then make sure the baking sheet is about 8-10 inches from the top of the oven and turn on the broiler. Broil for about 3-5 minutes until the top is browning. You can flip over the chicken and broil on the other side as well. (I skipped the flipping.)
5. While the chicken cooks, mix up the sauce. In a small saucepan melt 1/2 teaspoon of coconut oil over about medium heat. Then add the garlic and ginger to the oil and saute for about 30 seconds. Add the remaining sauce ingredients (1/2 cup of honey, 3 tablespoons of fresh lemon juice, the zest of 1 lemon, a tablespoon of rice vinegar and a teaspoon of cornstarch) and bring the mixture to a boil. Then reduce the heat to low and simmer until the sauce reduces. Taste the sauce and if you’d like to make it spicy add as much or little Sriracha as you want.
6. Toss the baked chicken with the sauce until the chicken is completely coated. Serve while still warm over your favorite rice and enjoy!
0
Leave a Reply