
(Recipe can be found on the site Vegan in the Freezer here.)
Step by Step Instructions:
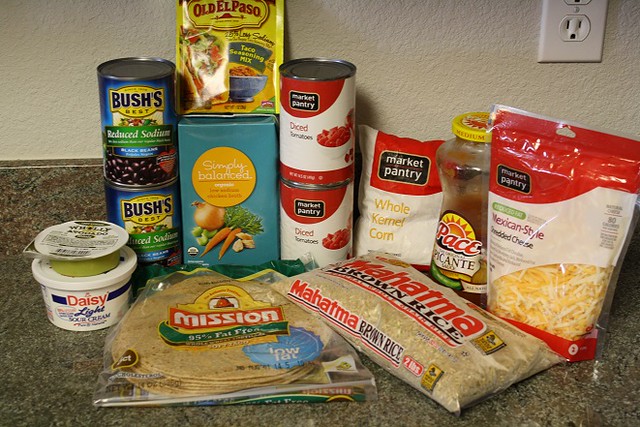
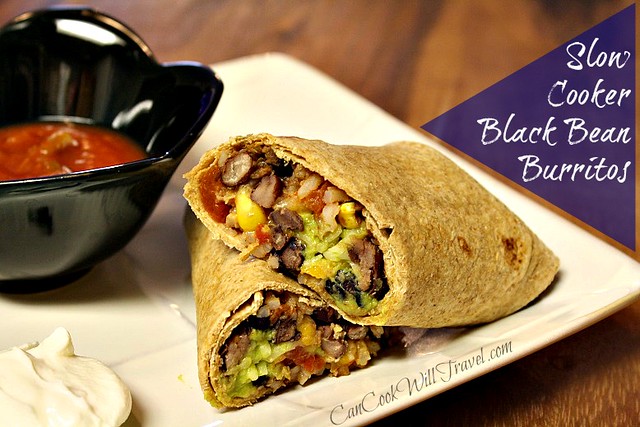
Slow Cooker Black Bean Burritos will be on your time with little effort on your party…gotta love that. Here’s what you’ll need: Sour cream & Avocados (optional, for topping), 2 14.5 ounce cans of black beans, Taco Seasoning, Vegetable or Chicken broth (I opted for chicken so that I could control the sodium more), Whole Wheat Tortillas, 2 14.5 ounce cans of diced tomatoes, Brown Rice, 1/2 cup of Corn (you can use fresh, canned or frozen here), your favorite Salsa, and Shredded Cheese (optional, for topping).
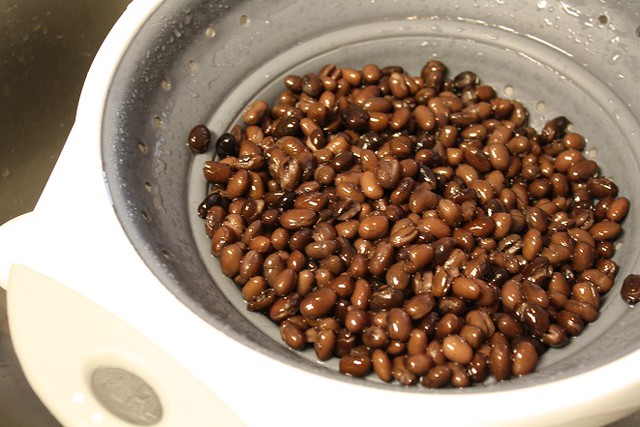
Start off by opening the 2 cans of beans and rinsing and draining them really well.
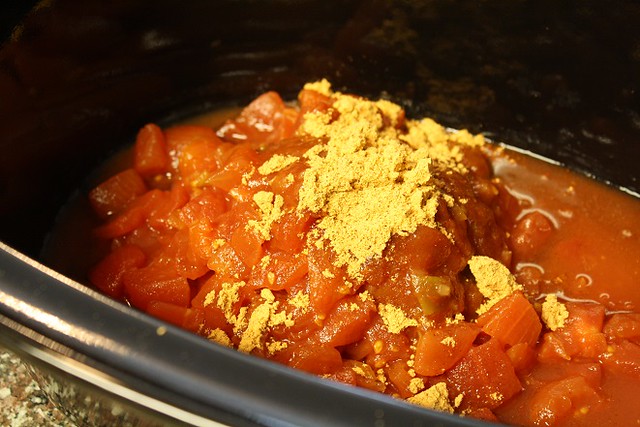
To the slow cooker bowl add the 2 cans of tomatoes (including liquid), 2 tablespoons of taco seasoning, and 1/4 cup of salsa.
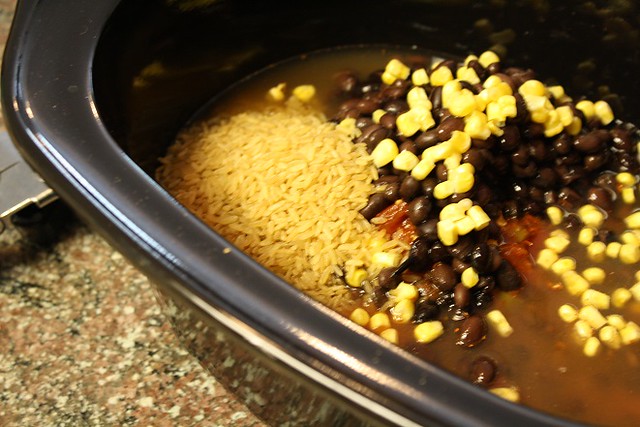
Next add in a cup of uncooked brown rice, the rinsed and drained black beans, 1/2 cup of corn (I used frozen corn and didn’t thaw it first), and 2 cups of broth.
Stir up the ingredients so they are well combined.
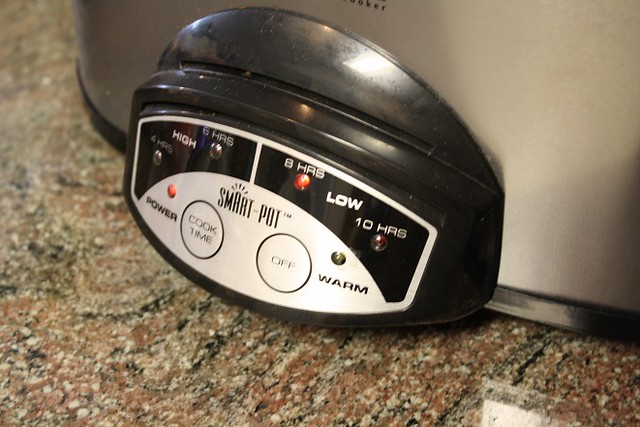
I turned mine slow cooker to a low setting.
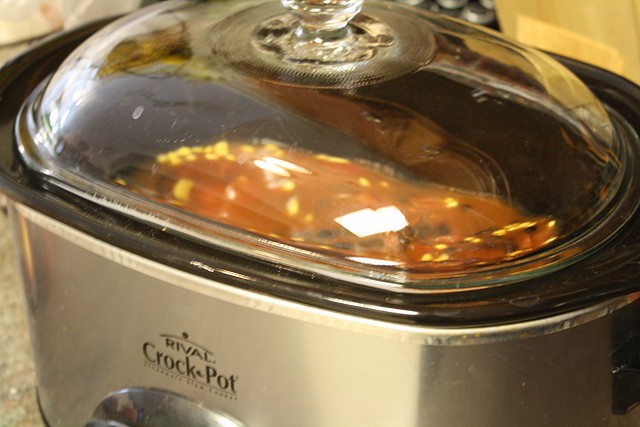
Then I covered the pot and let it cook undisturbed for 5-6 hours. After about 5 hours it smelled amazing and when I looked at it, it looked done.
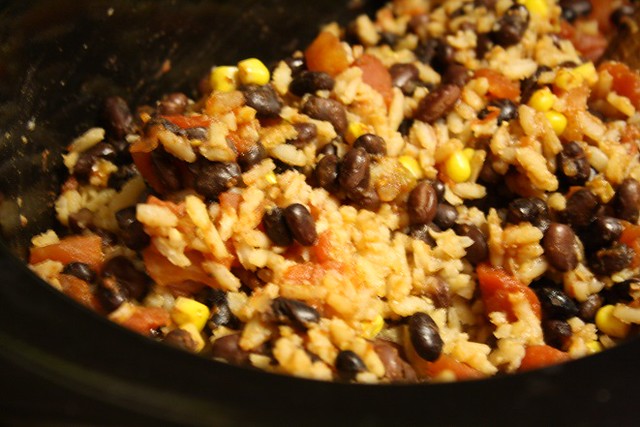
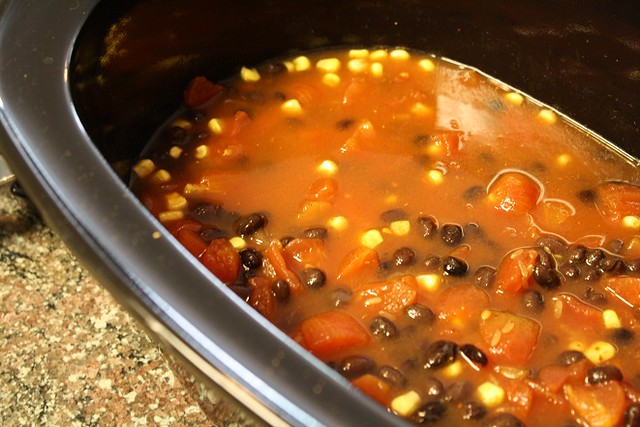
Here’s the filling after cooking. The rice was tender and the majority of the liquid had been absorbed.
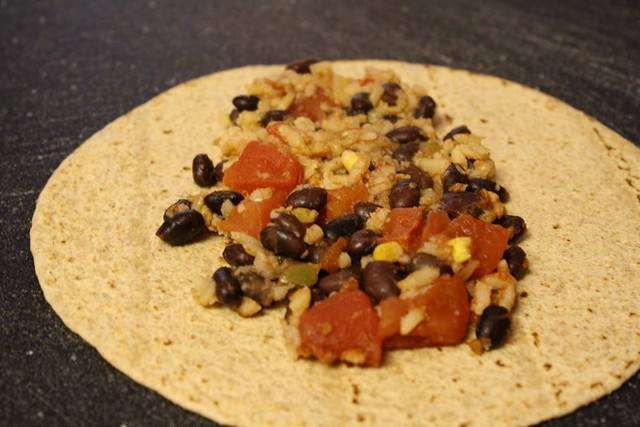
I heated a skillet over medium heat and warmed up my tortillas so that they were easier to fold. Then I spread 1/3 cup of the filling down the middle of the tortilla. (If you use larger tortillas, you can go with about 1/2 cup of filling.)
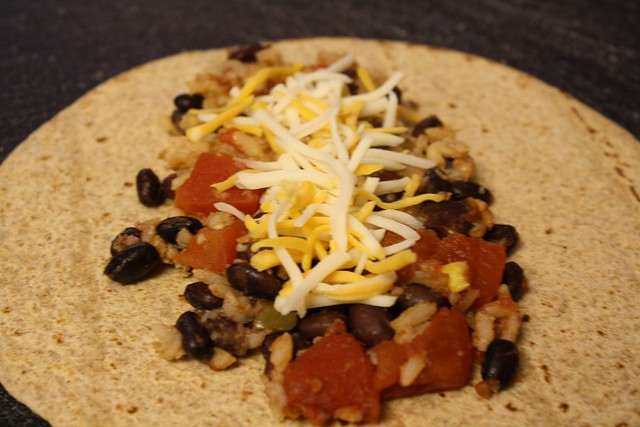
You can get creative and top the filling with extras if you’d like. I sprinkled some Mexican-style shredded cheese down the center…
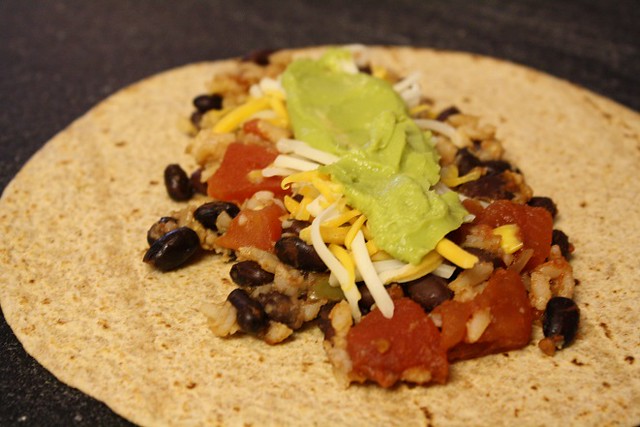
…and added some mashed avocado as well. The rotate the tortilla so the filling is running left to right. Fold the botton edge up to cover at least an inch of the filling. Roll the sides in and roll the burrito closed. Serve it with your favorite sides like salsa and sour cream. Enjoy!
Ingredients:
2 cans (14.5 oz. each) of Diced Tomatoes or about 5 fresh tomatoes to measure about 28 ounces
1/4 cup of your Favorite Salsa
2 Tablespoons Taco Seasoning
2 cans (14.5 to 15 ounces each) Black Beans, drained and rinsed
1 cup uncooked Brown Rice
1/2 cup canned whole kernel corn (drained and rinsed, or 1 ear of fresh corn or frozen corn
2 cups vegetable broth (or chicken broth)
10 whole wheat tortillas
Preparation Instructions:
1. To your slow cooker add in the 2 cans of tomatoes (including juice), 1/4 cup of salsa, 2 tablespoons of taco seasoning, 2 cans of black beans that have been drained and rinsed, 1/2 cup of corn, 1 cup of uncooked brown rice, and 2 cups of broth.
2. Stir everything together and cover the cooker. Depending on your timeframe, either cook the mixture on low for 6-8 hours or on high for 3-4 hours.
3. My filling was done in closer to 5 hours on low, so be sure to check yours. You’re looking for the rice to be tender and the majority of the liquid should be absorbed.
4. Begin assembling the burritos by laying out a tortilla and spreading 1/3 to 1/2 cup of the filling down the center of the tortilla starting about an inch or more from the edge of the tortilla. (Only use 1/2 cup of filling if your tortillas are really large.)
5. You can add any toppings you’d like at this time. I added some mashed avocado and shredded cheese to mine.
6. Fold up the burrito by turning the tortilla so the filling spread out left to right. Then fold up the bottom edge of the burrito to about 1-1/2 inches over the filling. Then fold the sides of the burrito into the center and roll the torilla closed. (Feel free to use whatever technique you prefer here.)
7. Serve the tortillas with your favorite toppings. I loved cheese, salsa, avocado or guacamole, sour cream or black olives. Get creative and enjoy!!
A note from the site Vegan in the Freezer on handling leftover filling:
IF FREEZING:
You can freeze the bean and rice mixture and roll the tortillas after it is defosted and heated. You can also freeze the rolled burritos. They would be best warmed up in the microwave – turning once and flipping over once while cooking. About 2 minutes total.
Package the mixture in rigid sided containers as defined in my article http://veganinthefreezer.com/preparing-food-for-the-freezer You can also pack the finished rolled burritos in freezer bags.
1
Leave a Reply