(Recipe can be found on the site Noshing with the Nolands here.)
Step by Step Instructions:
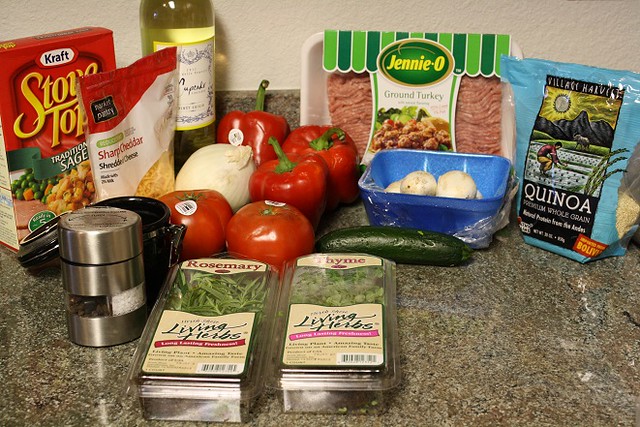
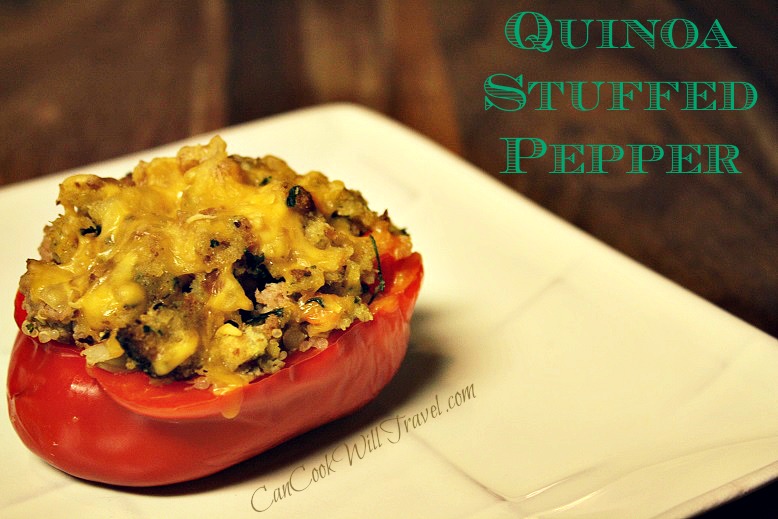
Quinoa Stuffed Peppers are delicious!! Here’s what you’ll need: Stuffing mix, Cheese of your choice (I went for Sharp Cheddar…because I can!), White Wine (Pinot Grigio here), 3 Red Peppers, 1 Small Onion, 2 Tomatoes, Salt & Pepper, Fresh Rosemary and Thyme, a small Zucchini, Ground Turkey, Fresh Mushrooms (about a cup), and Quinoa.
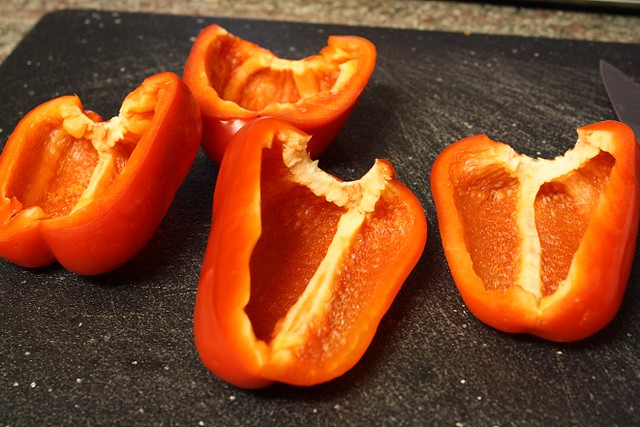
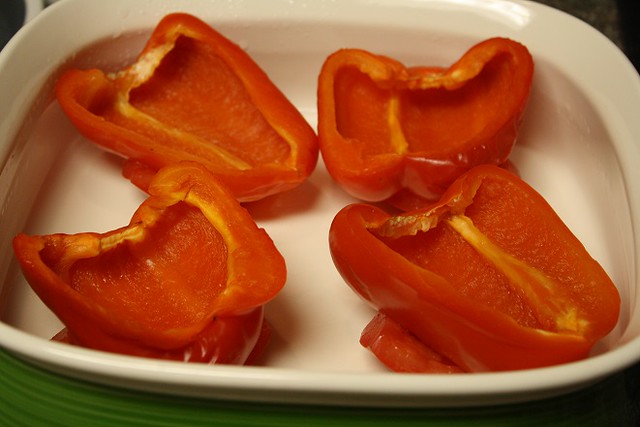
Start off by preheating your oven to 400 degrees. Then cut 2 of the red peppers in half. Remove the stems and the seeds and ribs.
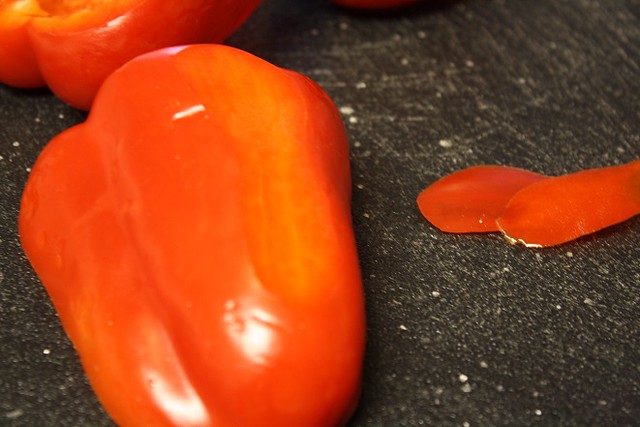
Then flip each pepper over and slice a thin strip off of each one so that they sit flat.
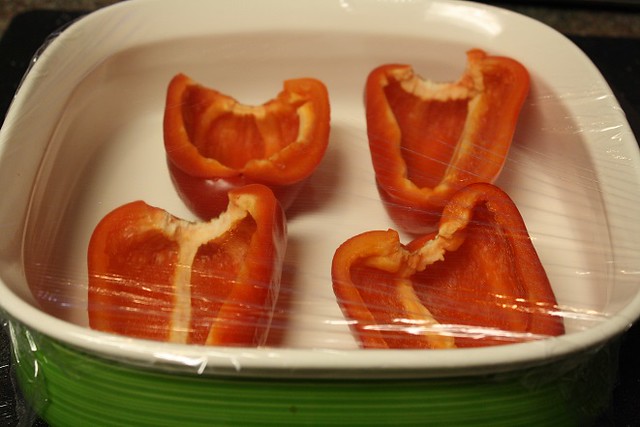
Grab a casserole dish and place each pepper in cut-side up, and cover it with plastic wrap. Them microwave on high for 3 minutes or until the peppers are tender but still hold their shape. Then remove from the microwave, keep covered, and let it cool to room temperature.
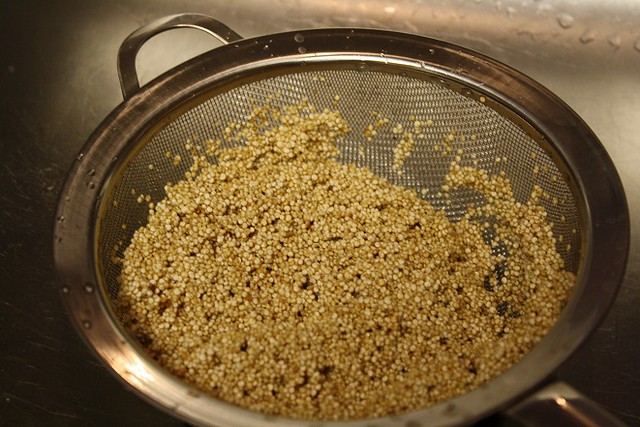
Then rinse the quinoa and cook it according to the package’s directions. You’ll need about a cup cooked total for this dish.
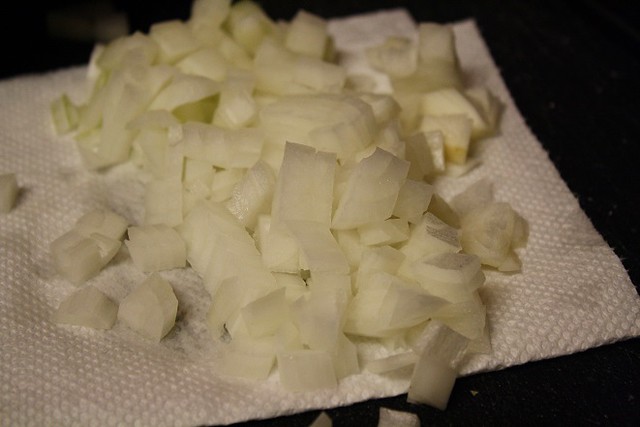
While the quinoa cooks, dice up half of a small onion.
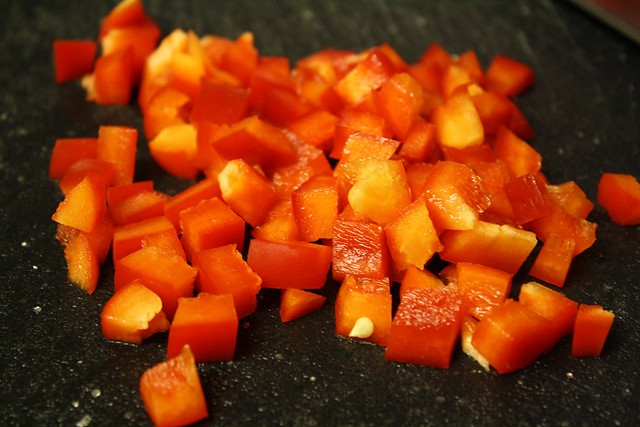
Then dice up half of a red pepper as well.
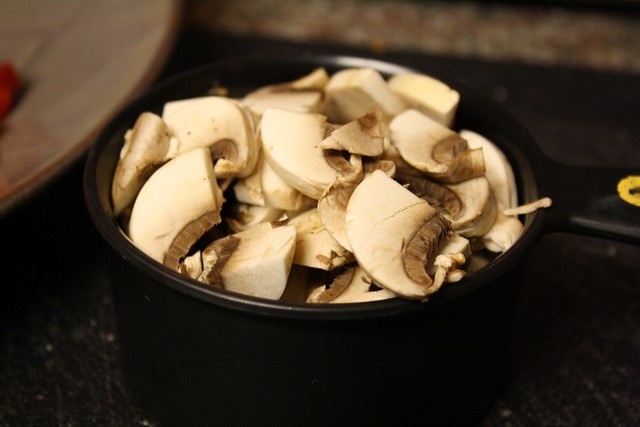
Time for the mushrooms. I took a damp cloth and cleaned each mushroom. Then I sliced them up until I had about a cup.
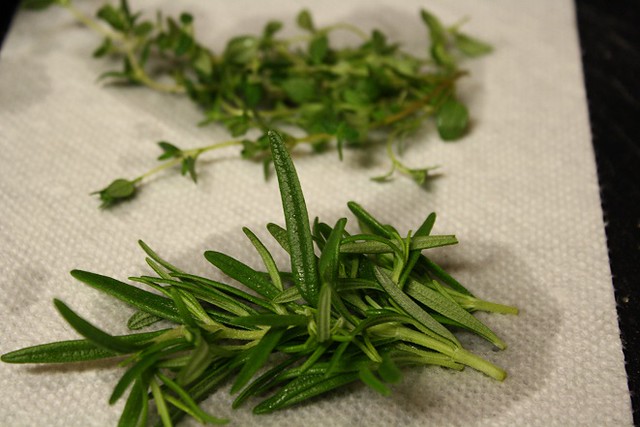
Next up are the herbs: Rosemary and Thyme. Wash and dry them and then chop the herbs up.
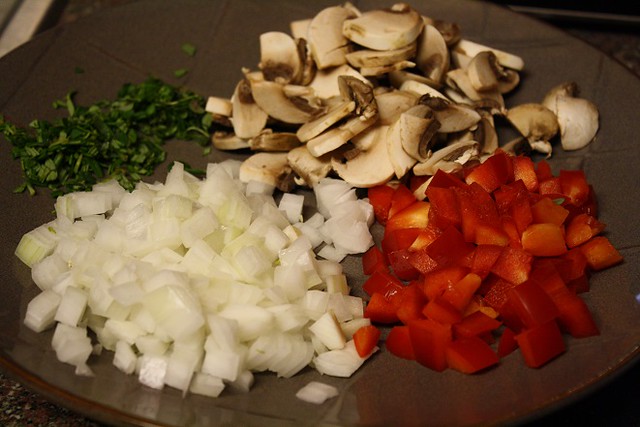
Here are all of the veggies for the first part of the filling.
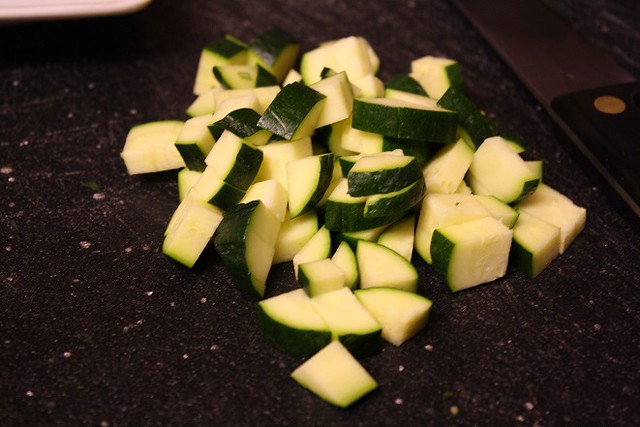
Then move onto the zucchini, which you’ll dice up.
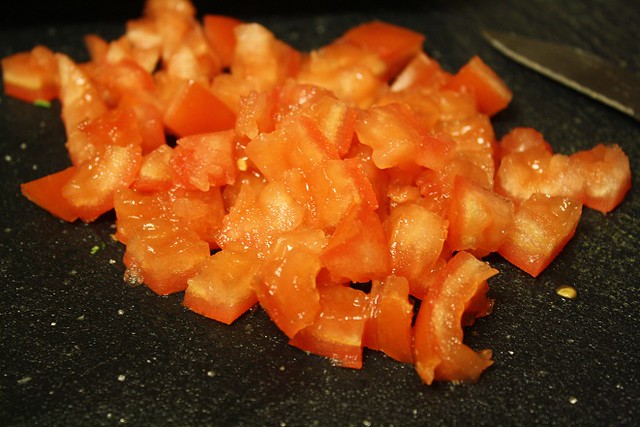
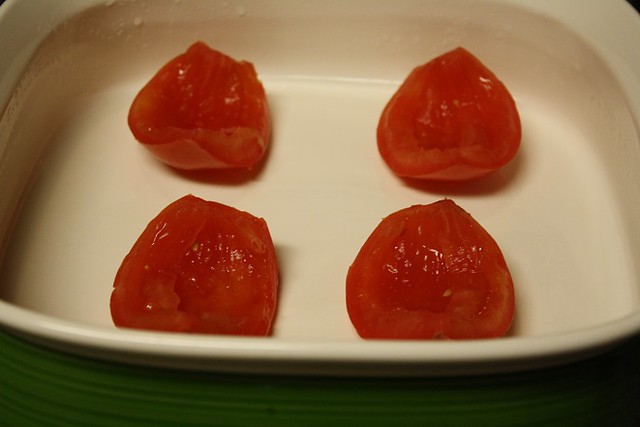
Next grab one tomato. Remove the stem, cut it in half and remove the seeds and innards. Then just dice up the tomato.
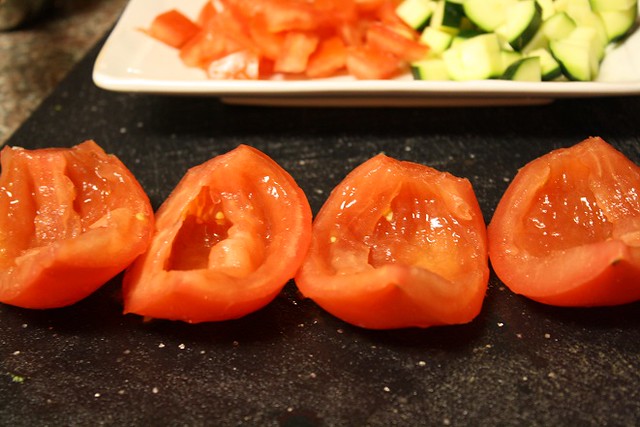
With the second tomato you’ll remove the stem, seeds, and innards and then cut into 4 large slices.
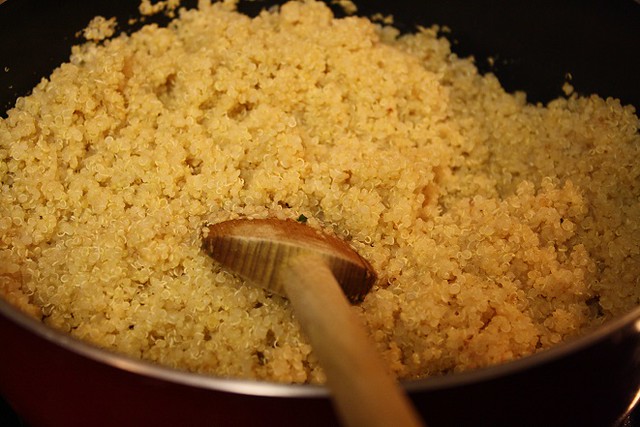
Around this time the quinoa was cooked. Just fluff it up and set it aside. You’ll need it soon.
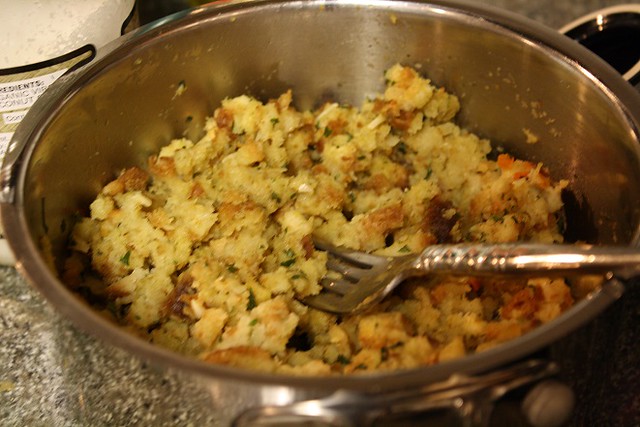
Go ahead and cook the stuffing according to the package. Mine took less than 10 minutes, so I started it around the time the quinoa finished.
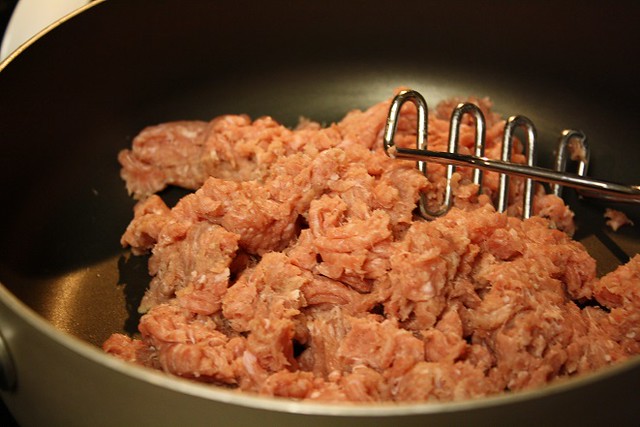
Time to start on the filling. Heat a large sauce pan over medium-high heat and cook the turkey until it’s no longer raw.
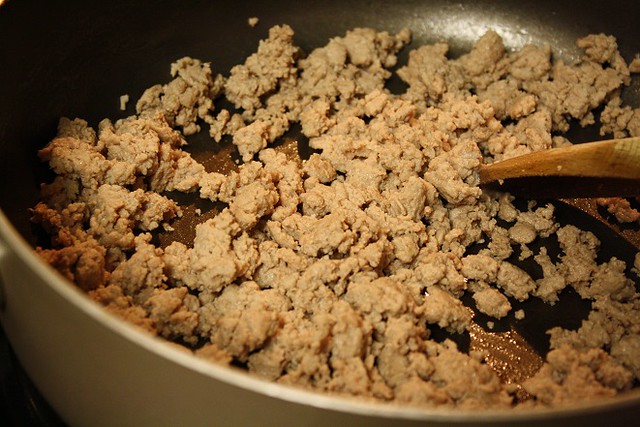
I then drained the turkey and put it back in the pan.
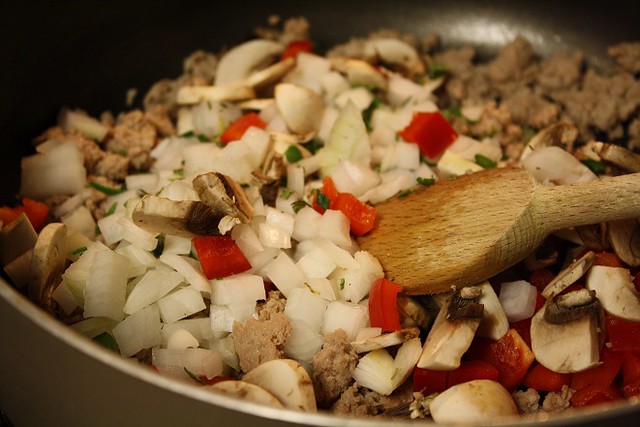
Then add in the onions, mushrooms, red pepper, and herbs to the turkey and cook it for 3-5 minutes until the onions are translucent.
While the veggies cook, remove the peppers from the casserole dish and wipe them out. Add the 4 tomato slices.
Then place the peppers on top of each tomato slice.
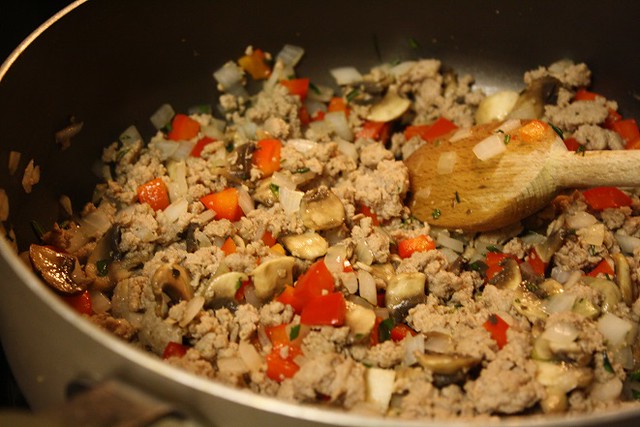
By now the onions were cooked.
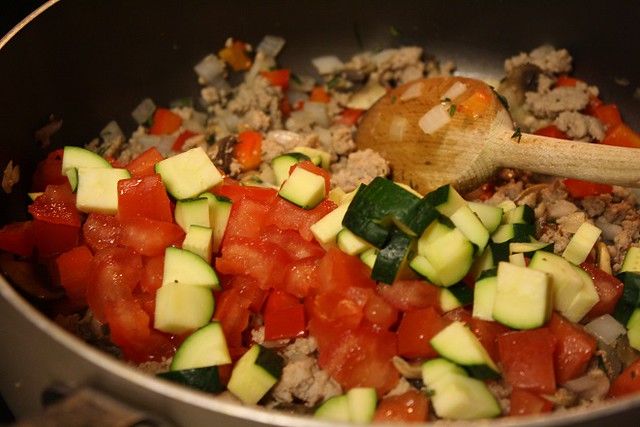
Then add the zucchini and tomatoes and cook for another 5 minutes.

Add the wine to the dish. I added enough wine to cover the bottom of the dish.
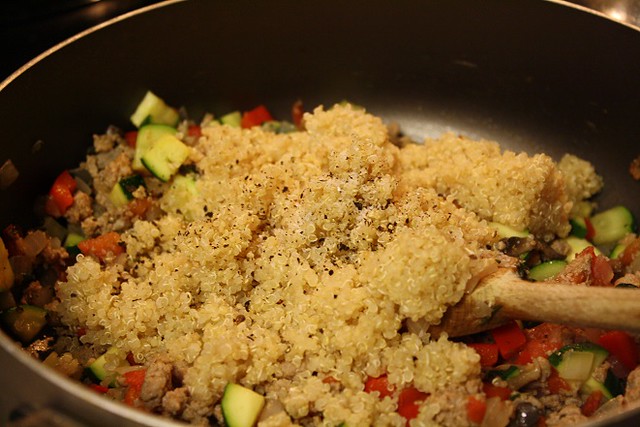
After the tomatoes and zucchini have cooked, add a cup of cooked quinoa along with salt and pepper to taste.
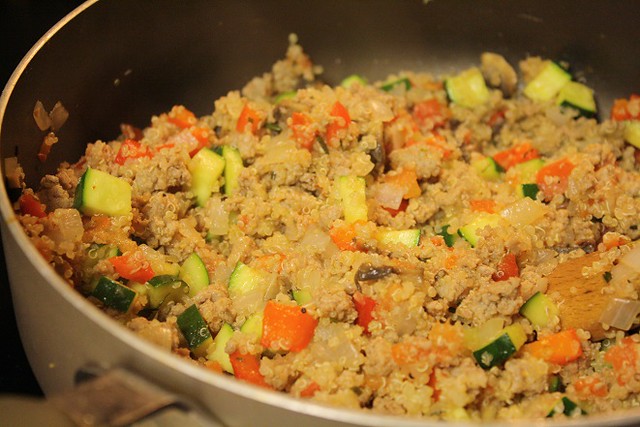
Here is the combined filling.
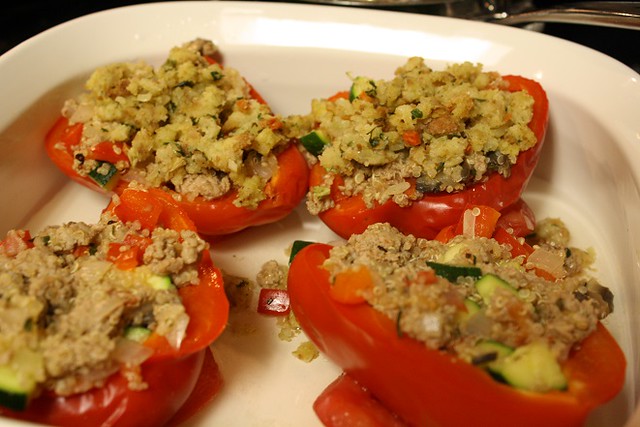
Place the turkey and quinoa mixture in each pepper so that it’s full. Then mound the stuffing on the top of each pepper. You’ll see in the photo the stuffing is on the two peppers in the back.
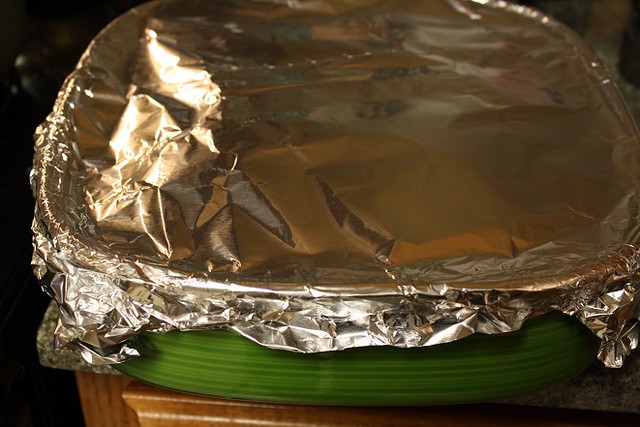
Then cover the baking dish with aluminum foil and bake for 15 minutes.
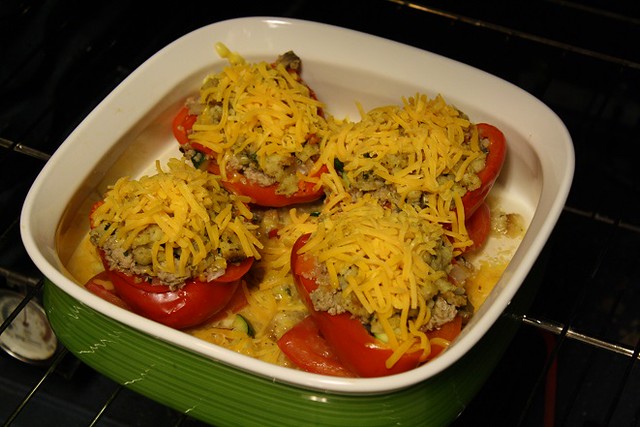
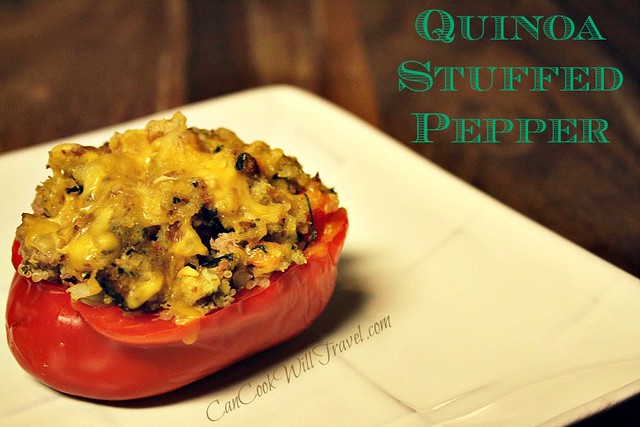
After 15 minutes top each pepper with cheese…yum! And bake uncovered for an additional 5 minutes or until the cheese is all melted and lovely.
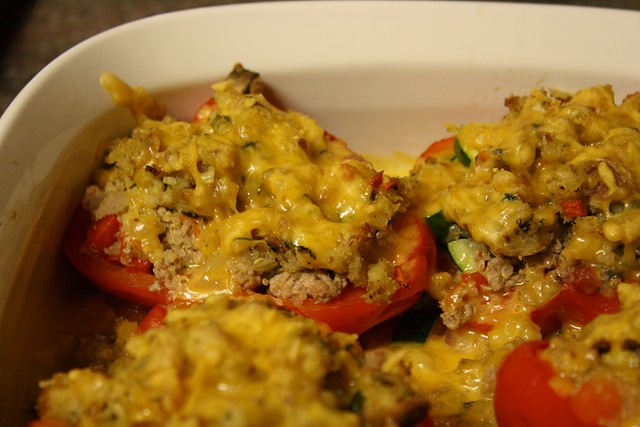
See how delicious these look?! Serve them up and dig in right away. These peppers were really filling and totally satisfying! Hope you enjoy. Happy pepper stuffing!
Ingredients:
1 large orange bell pepper
1 large yellow bell pepper
1 tomato, sliced into four thick slices
1⁄4 cup dry white wine
1 cup shredded cheese (I went with sharp cheddar but Swiss was another suggestion)
Stuffing
8 oz extra-lean ground beef, turkey or chicken
1⁄2 small onion, chopped
1⁄2 red bell pepper, chopped
1 cup sliced mushrooms
1 tbsp chopped fresh rosemary
1 tbsp chopped fresh thyme
1 tomato, chopped
1 small zucchini, chopped
1 cup cooked quinoa
1⁄4 tsp salt
1⁄4 tsp freshly ground black pepper
Preparation Instructions:
1. Start off by preheating your oven to 400 degrees.
2. Prep your peppers. Grab 2 of them and cut them in half lengthwise. Remove the seeds, stem and ribs of the peppers. Then cut a thin slice off the bottom of each pepper so it will sit flat.
3. Cook the peppers by placing them in a casserole dish and cover with plastic wrap. Microwave the peppers on high for about 3 minutes. You’ll want them to be tender but still hold their shape. Three Minutes seemed about right for me. Then remove from the microwave and keep the dish covered. Let the peppers cool to room temperature.
4. As the peppers cool, cook the quinoa according to the package instructions.
5. Then cook the stuffing according to the package as well. I used Stove Top, and so it took less than 10 minutes total.
6. Time to start on the main filling. In a large skillet, start heating the skillet over medium high heat. Add the the ground meat (I went with ground turkey to keep it healthier). Cook it until the meat is cooked and no longer pink. At this point I drained the liquid/fat.
7. Then add the onion, red pepper, mushrooms, rosemary and thyme and cook for 3-5 minutes until the onions are translucent. Stir regularly.
8. Add in the tomatoes and zucchini and cook them for an extra 5 minutes.
9. Finally stir in the quinoa and salt and pepper and the filling is done.
10. In the casserole dish, remove the peppers and wipe out any liquid. Then arrange the 4 tomato slices on the bottom and place each pepper on a tomato slice. Then pour in the wine. I used enough to cover the bottom of the dish.
11. Fill each pepper with the meat and quinoa mixture. Top each pepper with some stuffing. In the casserole dish, arrange tomato slices and add wine. Set each pepper half, cut side up, on a tomato slice. Fill each pepper half with the beef mixture, mounding the stuffing.
12. Cover the dish with aluminum foil and bake it for 15 minutes. Then uncover and top it with the cheese and bake uncovered for an additional 5 minutes or until the cheese has melted.
0
Leave a Reply