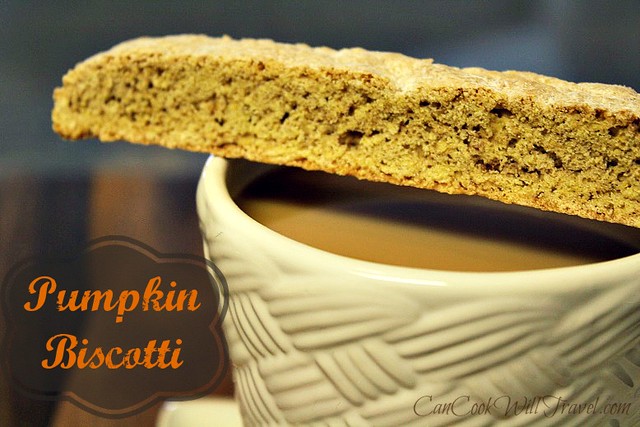
(Recipe can be found on the site Simply Recipes here.)
Step by Step Instructions:
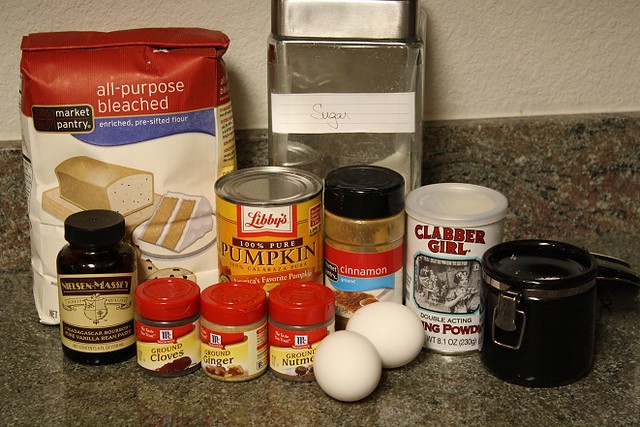
For your own Pumpkin Biscotti, here’s what you’ll need: All-Purpose Flour, Sugar, Vanilla Extract (or Vanilla Bean Paste in my case), Ground Cloves, Ground Ginger, Ground Nutmeg, Pumpkin Purée, Ground Cinnamon, 2 Eggs, Baking Powder and Salt.
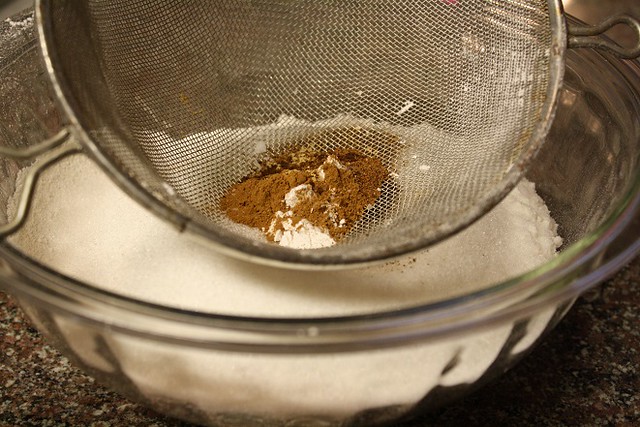
Begin by preheating your oven to 350 degrees. Then grab a large bowl and sift together 2 1/2 cups of flour, 1 cup of sugar, 1 teaspoon of baking powder, 1 teaspoon of cinnamon, 1/2 teaspoon of ground nutmeg, a pinch of ground ginger, a pinch of ground cloves and a pinch of salt.
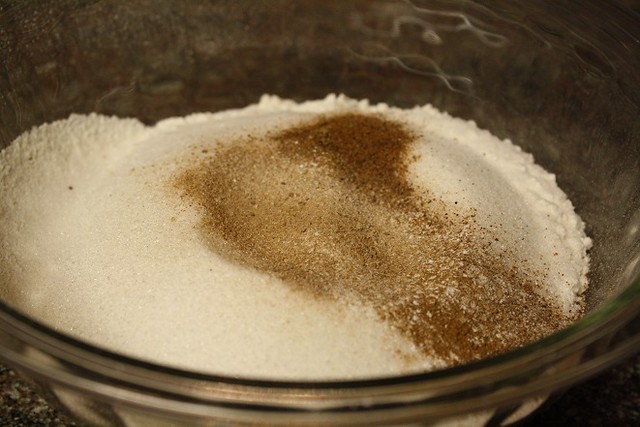
Here it is all sifted, and wow did these spices smell fantastic!

In a separate bowl combine 1/2 cup of pumpkin purée, 2 eggs, and a teaspoon of vanilla extract. Again I always substitute vanilla bean paste when I can because it’s so good.
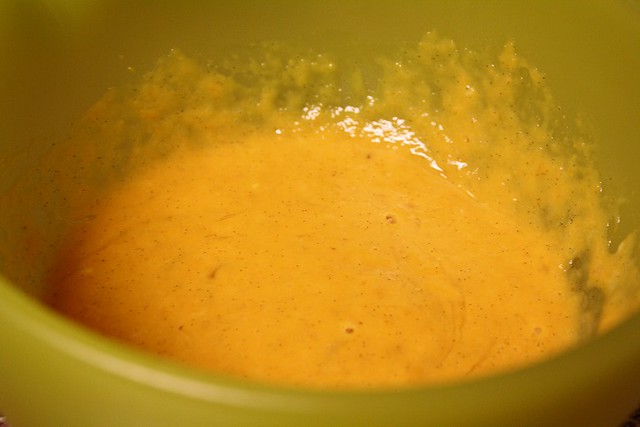
Then whisk the wet ingredients together.
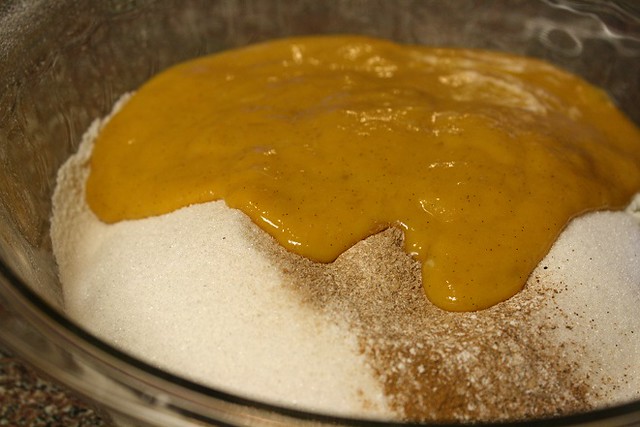
Then add the wet ingredients to the dry ingredients.
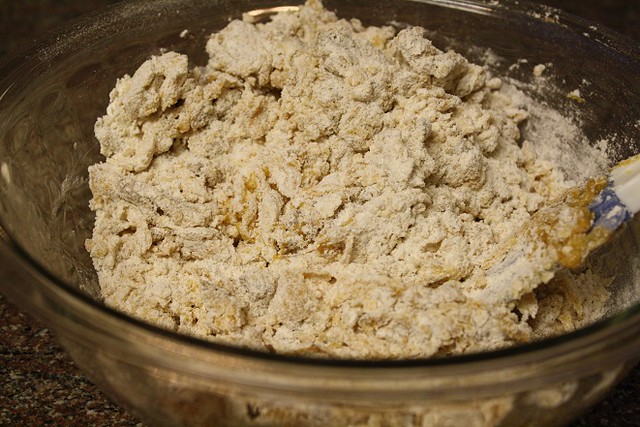
I used a rubber spatula to help me combine the dough. You can see it’s pretty crumbly, which is A-okay.
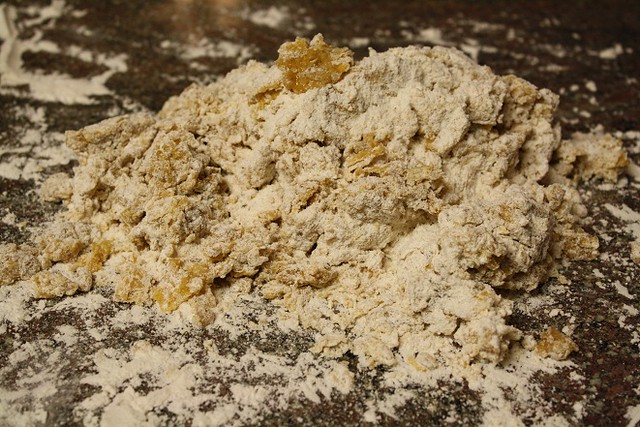
Clean and flour your work surface and turn the dough onto the surface. You’ll want to flour your hands a bit as well and start kneading the dough together. It will eventually come together so hang in there.
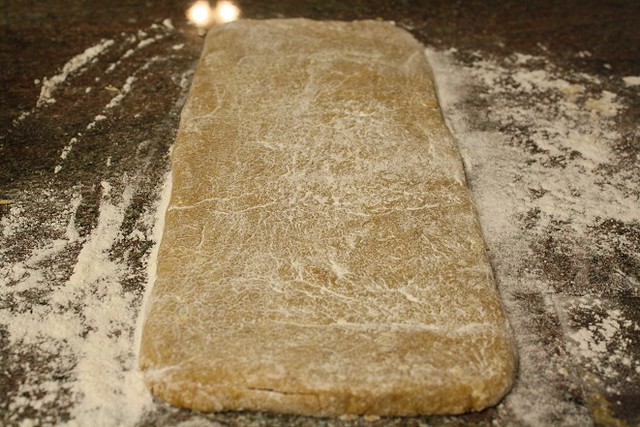
I used my hands to form the dough into a rectangle. Then I made use of my ruler and rolling pin to form this into a 15-20 inch long rectangle by 6-7 inch wide rectangle. It should be about 1/2 an inch thick.
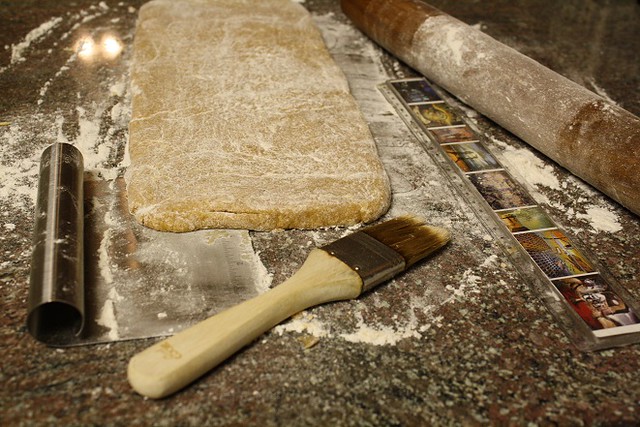
Here are some kitchen tools that came in handy. The bench scraper is great for helping rotate and transfer the dough. The pastry brush was helpful to remove unwanted flour, my ruler is used to get the dough to be the right shape and size, and the rolling pin helped me get a nice, uniform rectangle of dough.
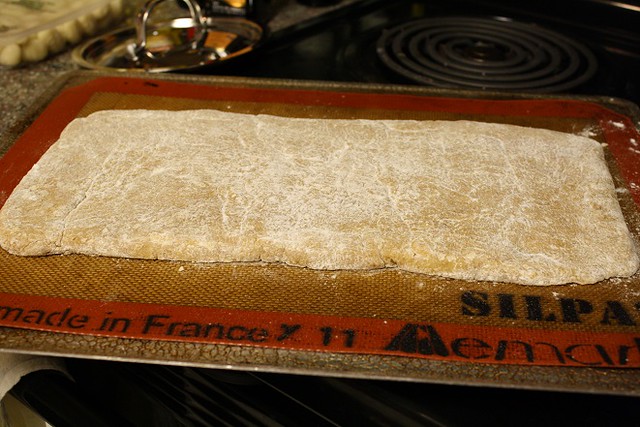
Carefully and swiftly use the bench scraper to transfer the delicate dough from your work surface to your lined cookie sheet. Again another use for my lovely Silpat. 🙂

Bake the dough for 15-20 minutes until it’s firm to the touch. Then remove it and let it cool for about 15 mintues.
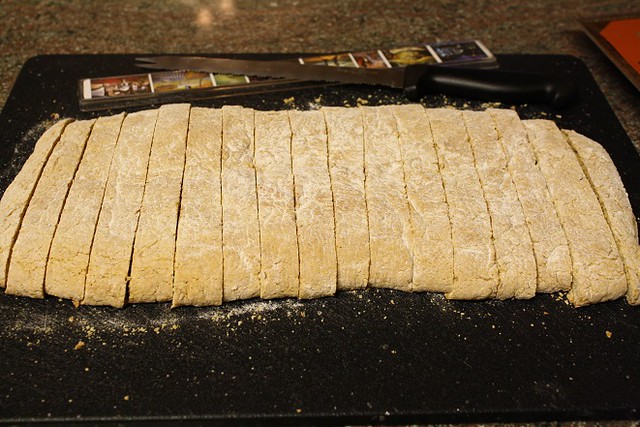
Then I moved the loaf to a cutting board and cut it into strips. The recipe suggest 1-inch strips, but I went for 1/2 to 3/4 inch thick strips instead. I got about 16 slices of biscotti out of this loaf.

Move the biscotti to the lined cookie sheet and bake them for another 15 minutes to help them dry out a bit more.
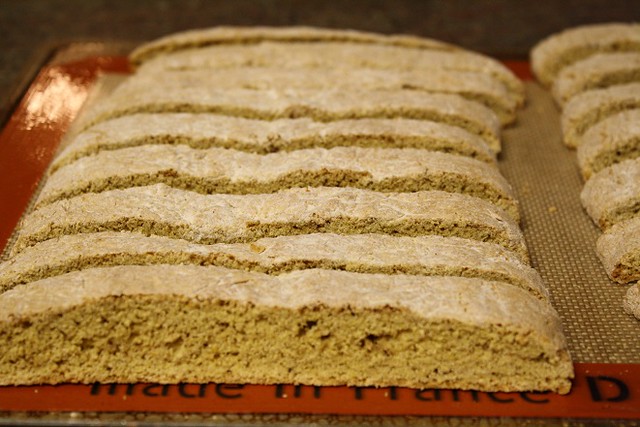
Allow the biscotti to cool completely for eating. Once I could touch them without getting burned I transferred them to a cooling rack to finish cooling down. Then store these in a sealed, dry place and share with your friends and family! They have such a great, subtle pumpkin & spice flavor. Dipped in my coffee, I was a happy girl! Enjoy!

Pumpkin Spice Biscotti
Ingredients
2 1/2 cups of flour
1 cup of sugar
1 teaspoon of baking powder
1 teaspoon of cinnamon
1/2 teaspoon of nutmeg
Pinch of ginger
Pinch of cloves
Pinch of salt
2 eggs
1/2 cup of pumpkin purée
1 teaspoon of vanilla extract
Preparation Instructions:
1. Preheat oven to 350°F. Sift together the flour, salt, sugar, baking powder, and spices into a large bowl.
2. In another bowl, whisk together the eggs, pumpkin purée, and vanilla extract. Pour the pumpkin mixture into the flour mixture. Give it a rough stir to generally incorporate the ingredients, the dough will be crumbly.
3. Flour your hands and a clean kitchen surface and lightly knead the dough. Lightly grease a baking sheet or line it with parchment paper. Form the dough into a large log, roughly about 15-20 inches by 6-7 inches. The loaves should be relatively flat, only about 1/2 inch high. Bake for 22-30 minutes at 350 F, until the center is firm to the touch. (Feel free to also form two smaller logs for cute two-bite biscotti; just cut the baking time to 18-24 minutes.)
4. Let biscotti cool for 15 minutes and then using a serrated knife cut into 1 inch wide pieces. Turn the oven to 300 F and bake for an additional 15-20 minutes. Cool completely.
*Biscotti may be still a tad moist and chewy, so if you prefer it crisp let it sit uncovered overnight in a dry space. Serve and enjoy.
0


Leave a Reply