
(Recipe can be found on the Tasty Kitchen site here.)
Step by Step Instructions:
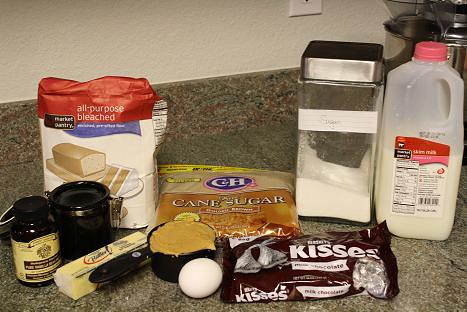
For these heavenly cookies, the following ingredients are needed: All-Purpose Flour, Light Brown Sugar, Granulated Sugar, Milk, Hershey’s Kisses, 3/4 cup of Creamy Peanut Butter (or PB2 in my case), 1 Egg, 1 stick of Butter, Salt, and Vanilla Extract (or the fabulous Vanilla Paste, in my case).
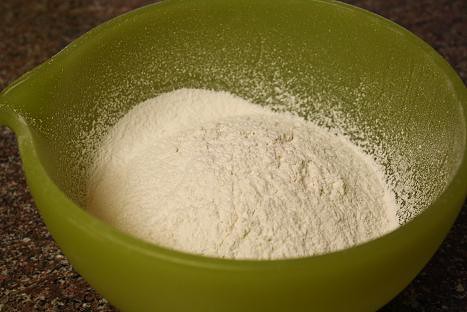
Begin by preheating the oven to 350 degrees – no need to be waiting on the oven. Then sift together 1 1/2 cups of flour, 1 teaspoon of Baking Soda, and 1/2 teaspoon of Salt.
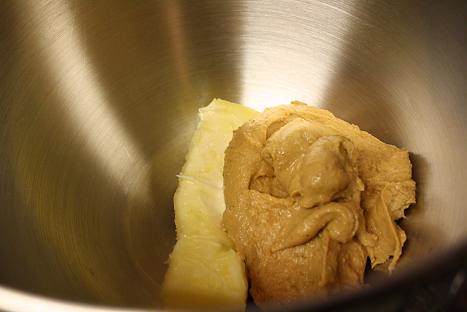
Then in a stand mixer, add the softened stick of butter and 3/4 cup of peanut butter.
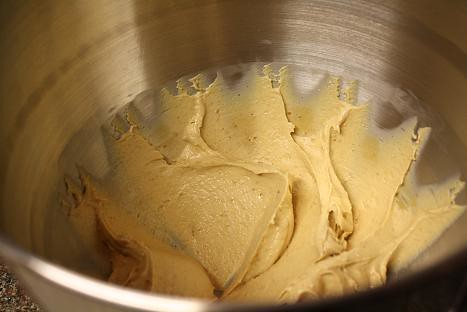
Cream the mixture together until it’s nice and fluffy.
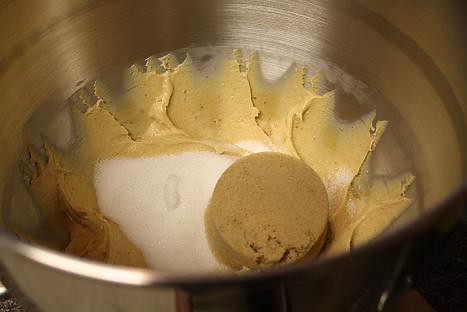
Then add 1/3 cup of granulated sugar and 1/3 cup of light brown sugar to the butter and peanut butter and mix until nice and fluffy.
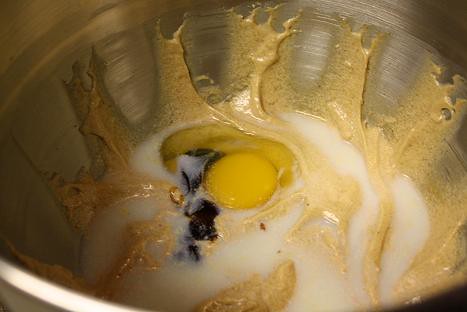
Next 3 tablespoons of Milk, 1 Egg, and 1 teaspoon of Vanilla are added to the batter and combined well.
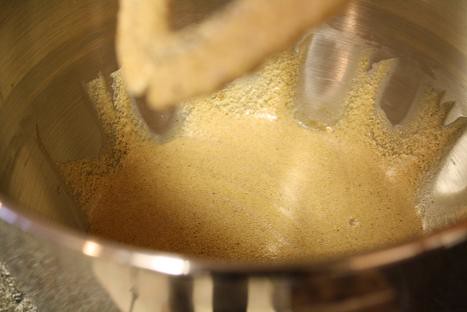
At this point, I need you to use your imagination. You’re going to imagine the sifted flour mixture being added to the wet ingredients. Once combined, you’re going to have the lovely cookie dough. Doesn’t it look great in your imagination?! I would advise putting the dough in the fridge for 5 or 10 minutes, just so it’s easier to roll into a ball. Thank you for your cooperation and understanding of my momentary lapse in photo taking…moving on!
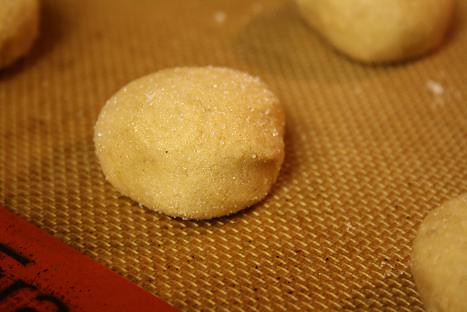
Taking a small amount of dough at a time, roll them into about 1 tablespoon-sized balls. Then each ball gets rolled in some granulated sugar and placed on a lined cookie sheet (lined with a Silpat or parchment paper). Bake the cookies for 8-10 minutes or until golden in color.

While the cookies bake, remove the wrappers from the chocolate, so that you have one for each cookie.
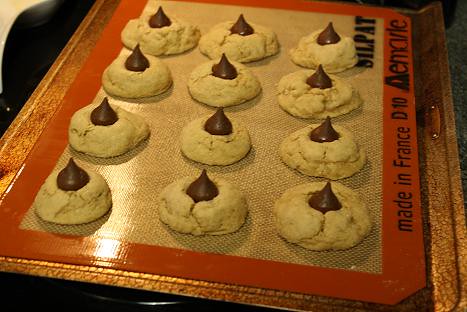
Remove the baked cookies from the oven and immediately place one Hershey’s Kiss on top of each cookie.
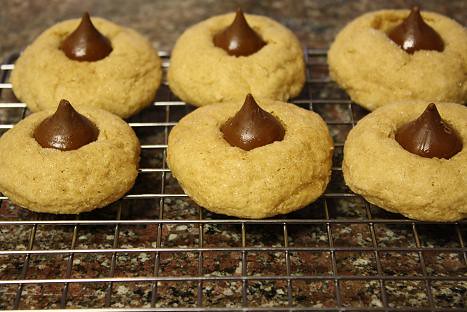
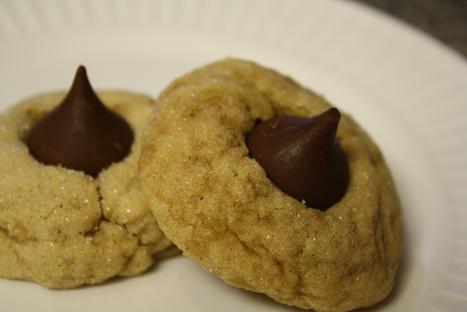
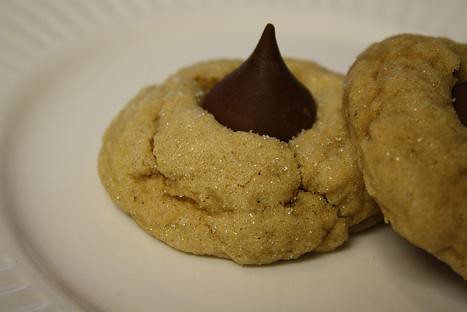
Once the chocolate is in place, transfer the cookies to a wire rack for cooling. If you can wait to enjoy the cookie, once cooled, then you deserve a medal! I couldn’t bear to wait, and wow, was it fantastic! Enjoy, and then quickly divvy them up and hand them out to your friends and family before you eat them all!
Carolyn’s Kiss Cookies
Ingredients:
1 bag (about 12 Oz. Bag) Hershey’s Kisses (I Use Milk Chocolate)
1-½ cup All-purpose Flour
1 teaspoon Baking Soda
½ teaspoon Salt
1 stick Butter, Softened
¾ cups Peanut Butter
⅓ cups Granulated Sugar, Plus Extra For Rolling Cookies
⅓ cups Light Brown Sugar
1 whole Egg
3 Tablespoons Milk
1 teaspoon Vanilla Extract
Preparation Instructions:
1. Preheat oven to 350°F.
2. Remove wrappers from chocolates. Set aside.
3. Sift together the flour, baking soda and salt; set aside. Meanwhile, in a large bowl, cream together butter and peanut butter until well blended. Add the granulated sugar and brown sugar and beat until fluffy. Next add egg, milk and vanilla; beat well. Finally, blend in the flour mixture.
4. Shape dough into 1-inch balls. Roll in granulated sugar and place on ungreased cookie sheet.
5. Bake for 8 to 10 minutes or until lightly browned. Then remove from the oven and immediately press a chocolate Kiss into the center of each cookie. Remove from the cookie sheet and place on a wire rack to cool.
6. Cool completely.
0
Leave a Reply