(Recipe is found at Smitten Kitchen here and is adapted from Breakfast Lunch, Tea: The Many Little Meals of Rose Bakery)
Step by Step Instructions:
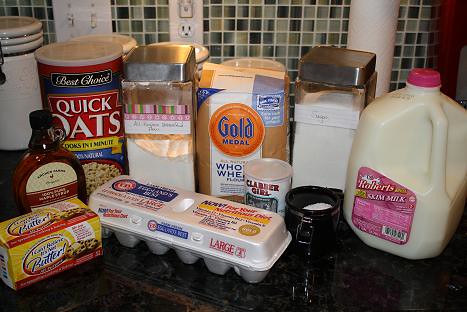
Begin by preheating the oven to 400 degrees to get that out of the way. To make this tasty scone recipe, you will need the following: Butter, Maple Syrup, Quick Cooking Oats, All-Purpose Flour, Whole Wheat Flour, Sugar, Milk (I obviously went with Skim), Kosher Salt, Baking Powder, and Eggs.
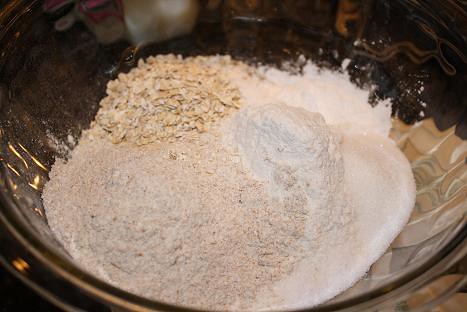
Start out by combining your dry ingredients in a bowl: Flour, Whole Wheat Flour, oats, Sugar, Salt, and Baking Powder.
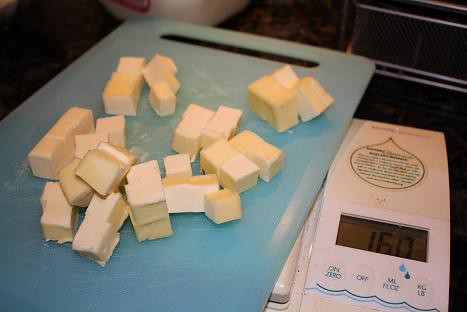
You will need 160 grams of butter, which I found was about 11 tablespoons, and then go ahead and cube the butter to make it easier to combine.
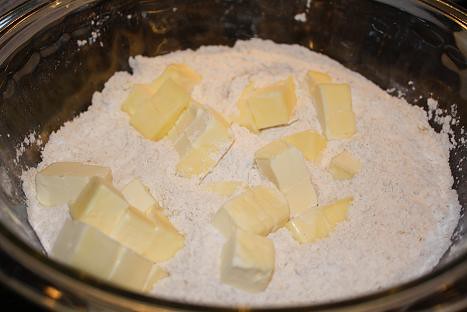
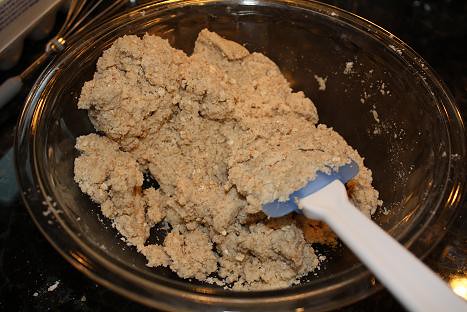
Add your butter to the dry ingredients…
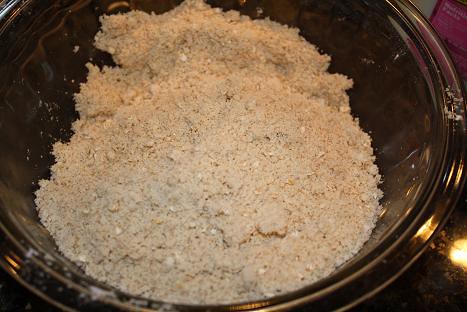
…then you can use a pastry cutter or your fingers (I opted for the latter) and combine the butter with the dry ingredients until they are the consistency of bread crumbs as you see above.
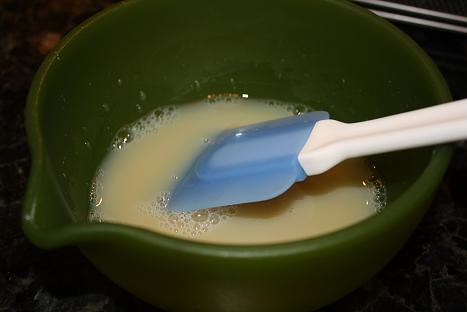
Next up, grab a small bowl and combine your milk and syrup and whisk them together.
Pour the liquid ingredients in the bowl with the dry ingredients and butter and combine them using a spatula.
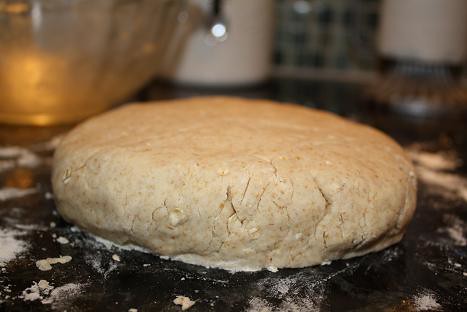
Then lightly flour the work surface and pour out the dough. Begin kneading the dough and shape it until it is about 1 1/4 inches high.
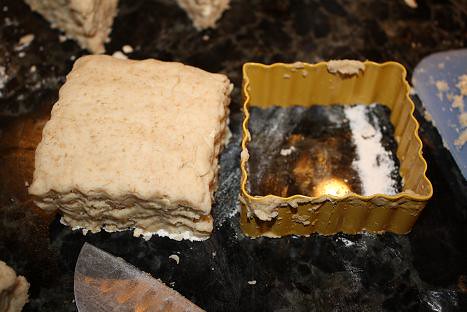
Then grab a cookie cutter. The recipe suggests a 2 inch wide round cookie cutter. I couldn’t find one to save my life at the store, so I opted for the above wavy square cutter that was just slightly bigger than 2 inches.

In order to get more scones out of this batch, I then cut the squares on a diagonal to get a traditional scone shape. This allowed me to get about 9 scones out of the dough.
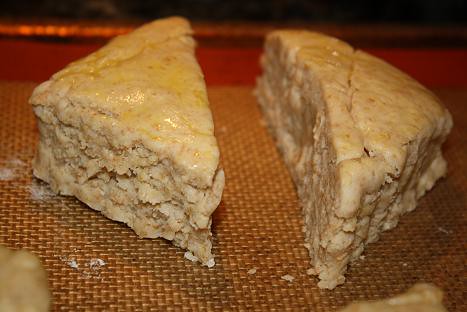
Then put your scones on a baking sheet (by now, you should know that I of course lined mine with a Silpat). Beat one egg and brush the egg on top of each scone.
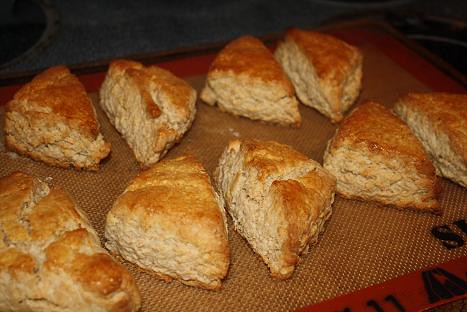
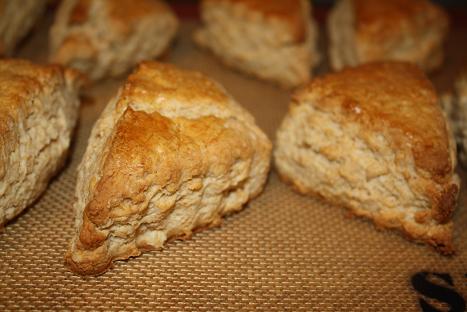
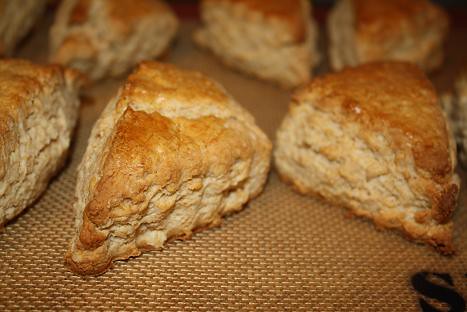
Bake the scones for about 20 minutes or until they are golden brown on top. Serve them warm or cooled and they are a perfect breakfast or snack option. They are quite tasty with just a bit of butter on the side. I also noticed after eating a leftover scone the next day that they had almost a banana nut bread flavor, which was really great!
Ingredients:
1 3/4 cups (260 grams) all-purpose flour, plus extra for dusting surface
1/2 cup (80 grams) whole wheat flour
1/2 cup (35 grams) rolled oats (I used quick-cooking)
1 very heaped tablespoon baking powder (I only slightly heaped; wish I’d heaped more!)
1 very heaped tablespoon superfine (caster) or granulated sugar
1/2 teaspoon table salt
Scant 3/4 cup (160 grams) unsalted butter, cut into pieces
1/4 cup maple syrup
1/4 cup milk or buttermilk
1 egg, beaten (for glaze)
Preparation Instructions:
1. Preheat your oven to 400°F (200°C). Butter a baking tray, or, if you’re me and your baking sheets are in horrendous condition, line them with un-buttered parchment paper.
2. Whisk the flours, oats, baking powder, sugar and salt together in a large bowl.
3. With a pastry blender or your fingertips, work the butter into the dry ingredients until the mixture resembles fine breadcrumbs.
4. In a small dish, combine the milk and syrup, then add these liquid ingredients to the butter-flour mixture.
5. By hand or with a rubber spatula, bring everything together to form a softish dough. If it feels too dry, add a little more milk but not enough that the dough is sticky. “The dough should not be sticky at all,” the book admonishes.
6. On a lightly floured surface, pat or roll the dough out until it is 1 1/4 inches (3 cm) tall.
7. Using a 2-inch (5-cm) cutter, cut the dough into rounds and place them on the prepared tray so that they almost touch.
8. Glaze the tops with beaten egg and bake for 20 to 25 minutes until the scones are lightly golden. The scones will stick together, so pull them gently apart when they’ve cooled a bit — pull-apart scones!
9. Serve warm.
0
Leave a Reply