
(Recipe can be found on the Tasty Kitchen site here.)
Step by Step Instructions:

All you need for this baked pasta dish include: Salt, Chicken Stock, Whole Wheat Penne Pasta, Fire Roasted Diced Tomatoes, Low-fat 2% Evaporated Milk, Flour, Parmesan Cheese, Reduced Fat Cream Cheese, 1 pound of de-veined, uncooked Shrimp with the tail off, 4 cloves of Garlic, and 1 1/2 tablespoons of butter.
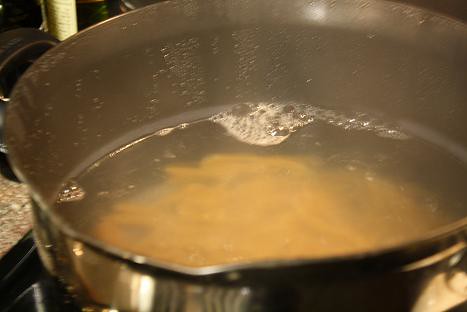
Begin by preheating the oven to 375 degrees. Then measure out 6 ounces of uncooked penne pasta and cook it according to the package’s directions.

While the pasta cooks, melt 1/2 tablespoon of butter. Then add one clove of minced garlic and sauté so the garlic is soft and fragrant (about 1 minute).

Add the shrimp to the butter and garlic and cook for about 3 minutes on each side, until the shrimp is no longer gray. This part happens fast, and you want to be sure you don’t overcook your shrimp.

While the shrimp cooks, drain your finished penne pasta and then add 1 can of drained, fire-roasted diced tomatoes.
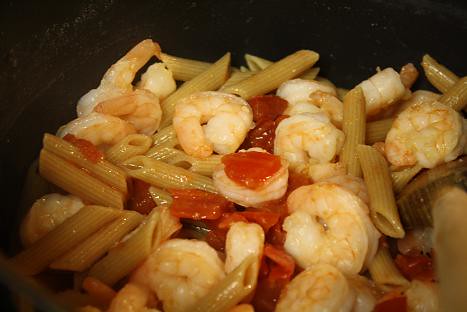
Once the shrimp is fully cooked, add it to the pasta and tomatoes. Then set the pot to the side, while you start the sauce.
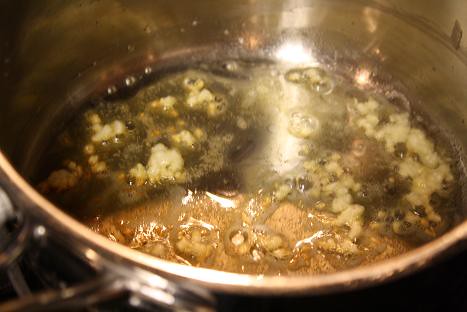
The sauce starts off by melting 1 tablespoon of butter, and then sauté 3 cloves of minced garlic. Let the garlic get soft but not burned.

You’ll make a roux by adding 1 tablespoon of butter and stirring it so that the butter and flour are combined the flour cooks for about a minute.
Add 3 ounces of evaporated milk to the saucepan and whisk until the mixture is thick.
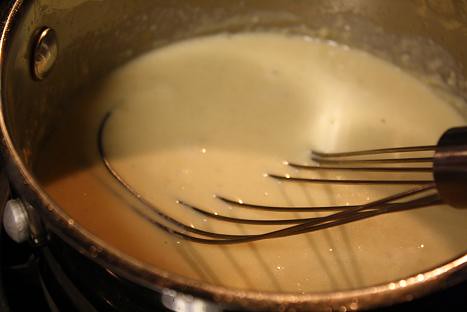
Then add the remaining evaporated milk.
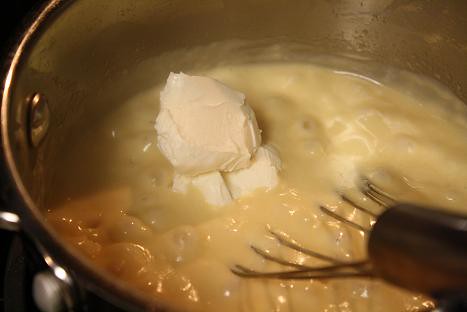
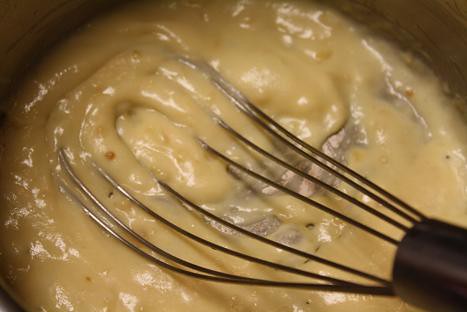
Once the mixture is thick and bubbly again, add 1 ounce of reduced fat cream cheese. Whisk until the sauce is smooth.
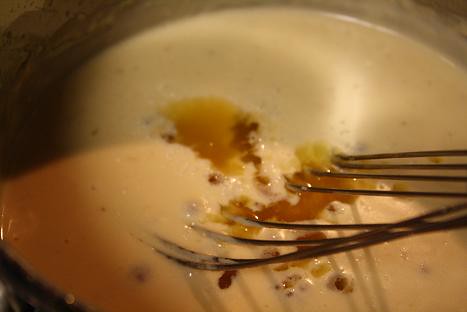
Now the chicken stock gets added to the sauce to thin it out.
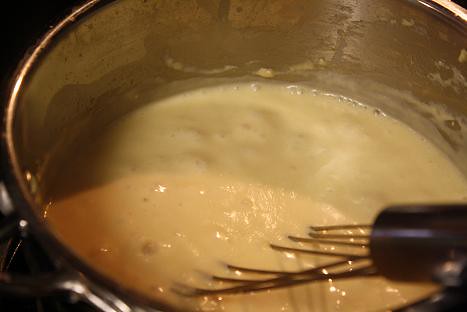
Continue whisking, and the sauce will thicken again. Season it with salt.

Immediately add the finished sauce to the pasta, tomatoes, and shrimp and combine. Pour the pasta dish into pan (mine was about 9×9) that has been sprayed with cooking spray.

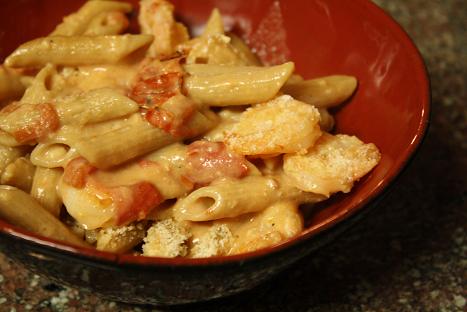
Then sprinkle a nice layer of Parmesan cheese over the top of the pasta. Bake it at 375 degrees for about 10-15 minutes, until the pasta is lightly brown on top and the sauce is bubbly.

Then serve it up to all of your pasta loving people…isn’t that everybody, really?! The recipe below makes 4 servings, so just double it if you want more, which I think you will! Enjoy!

Ingredients:
1-½ Tablespoon Butter, Divided
4 cloves Garlic, Minced, Divided
1 pound Raw, De-veined Tail-off Shrimp
6 ounces, weight Whole Wheat Penne Pasta
1 can (14.5 Oz. Size) Fire-roasted Tomatoes With Garlic
1 Tablespoon Flour
6 ounces, fluid Evaporated Milk
1 ounce, weight Light Cream Cheese
⅓ cups Chicken Stock
1 pinch Salt
¼ cups Parmesan Cheese, For Topping
Preparation Instructions:
1. In a skillet, melt 1/2 tablespoon butter and add 1 clove minced garlic. Saute for 1 minute or until garlic is soft and fragrant. Add shrimp and cook about 3 minutes on each side, until no longer gray.
2. Cook pasta as directed until al dente. Drain and return to pan. Drain tomatoes and add to the pasta. Add cooked shrimp.
3. In a small skillet, melt the remaining 1 tablespoon butter and add the remaining minced garlic over medium-high heat. Saute for 1 minute. Add flour and stir until a soft, sticky mixture forms, about 1 minute. Add half of the evaporated milk and whisk until smooth. As it cooks, the mixture will start to thicken and bubble; when it does, add the rest of the evaporated milk. As the mixture thickens and bubbles again, add the cream cheese and whisk until smooth. As the mixture thickens, add the chicken stock to thin out the sauce. Season with salt to taste.
4. Pour sauce immediately over pasta and mix gently. Pour into a small baking dish. Top with Parmesan cheese and bake at 375ºF for about 10-15 minutes or until golden brown on top.
Note: The sauce will start to really thicken within a few minutes of taking it off the heat. Make sure to mix it in with the pasta right away. When I made this, I used a 9×9 baking dish. You could also top this with seasoned breadcrumbs.
0
Leave a Reply