
(Recipe can be found on the Key Ingredient site here.)
Step by Step Instructions:

Brace yourself, you only need 5 ingredients that luckily I had on hand: All-Purpose Flour (you could use Bread Flour too if you have it), Active Dry Yeast (5 teaspoons), 1 tablespoon of Butter, 1 Egg, and Sea Salt (Kosher would work if you don’t have sea salt).
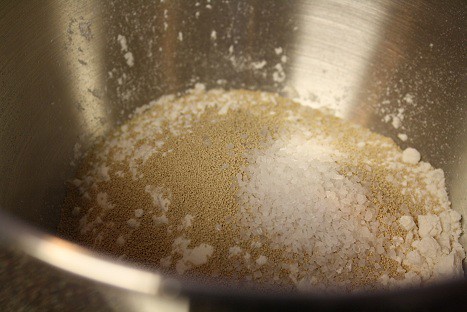
Then in my Kitchen Aid bowl, I added 2 cups of flour, 5 teaspoons of active dry yeast and 2 teaspoons of sea salt.
Using a plastic spatula I gave the ingredients a thorough stir and moved on to the wet ingredients.
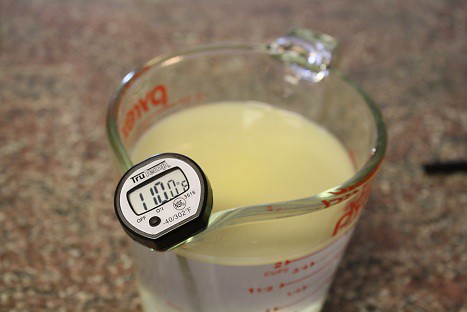
I melted 1 tablespoon of butter in the microwave and added it to 2 cups of warm water. Then I checked the temperature. It was below 110 degrees, so I heated the mixture in the microwave for about 15-30 seconds and then monitored the temperature until it was 110 degrees max.
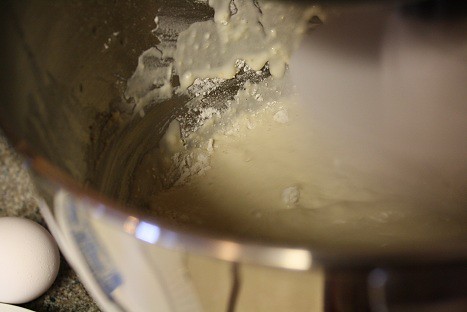
Then I added the wet mixture to the dry ingredients and combined it with my dough hook on my mixer. I ended up helping it a bit with my spatula so it would get more combined.
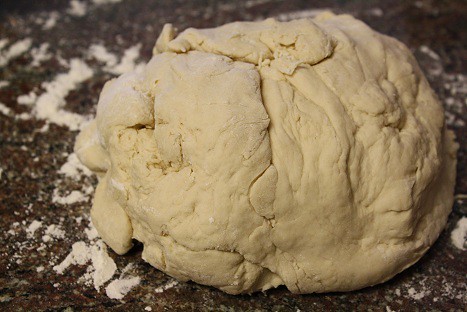
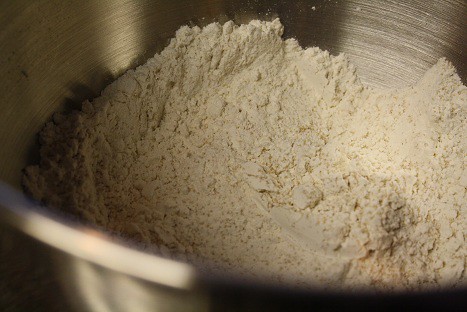
I then added another 3 cups of flour slowly to the mixer and let the dough come together. As you can tell it doesn’t need to look perfect.
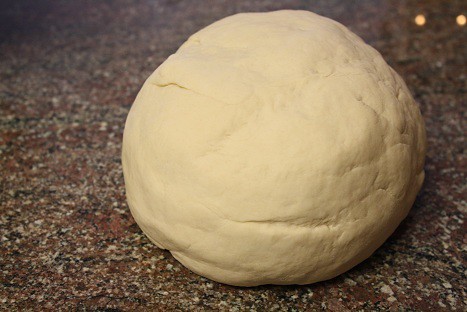
Then you can either let the mixer knead the dough on a low speed for about 8 minutes or knead it by hand. I figured I could use the arm workout, so I sprinkled a little flour on my work surface and kneaded it for 8-10 minutes adding more flour to the work surface as needed until it’s a smooth dough ball that is elastic. Essentially it starts to look pretty. 🙂
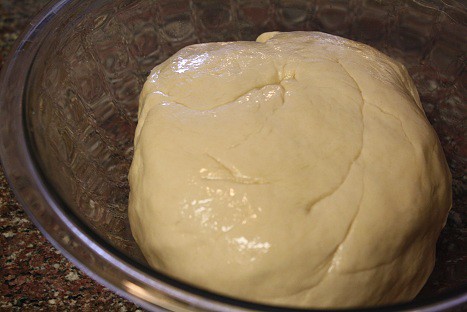
I put about 1 teaspoon of canola oil in a glass bowl and wiped it around the bowl and added the dough ball. Then I flipped the dough over so both sides got coated in the oil.
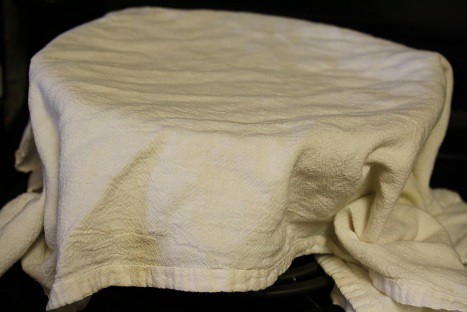
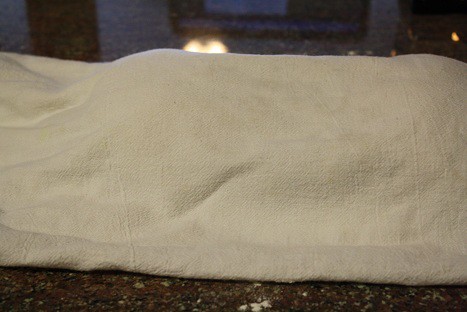
Then the dough is covered with a clean towel and I put it in a warm spot (not too hot) by the oven as it preheated to 375 degrees. Let it sit for 30 minutes or an hour…
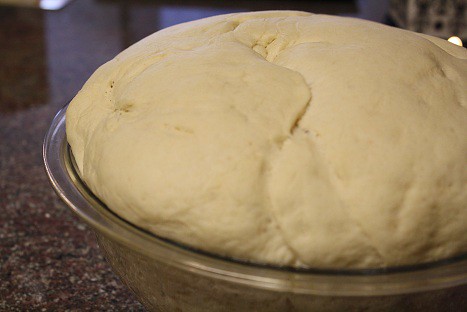
…until it doubles in size as you can see here.
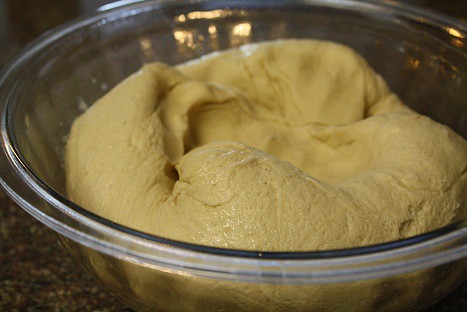 T
T
hen take any aggression you have out on the dough and give it a nice punch in the center to deflate it.
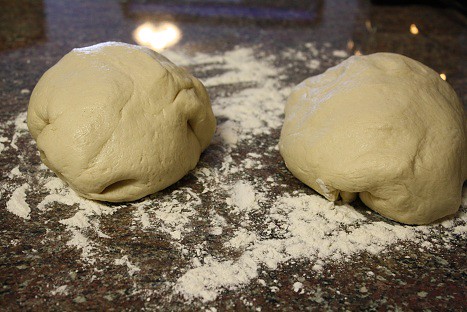
I divided the dough in half and placed each half on my floured work surface.
Then cover them with the same towel and let them rest for at least 10 minutes.
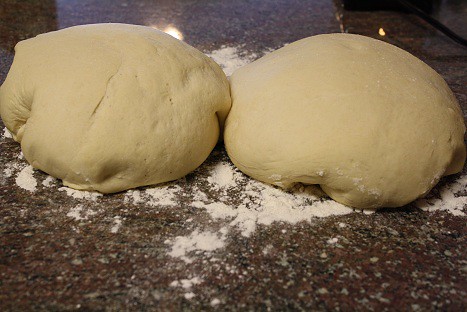
This was closer to 20 minutes later, but you’ll see they rose a bit more.
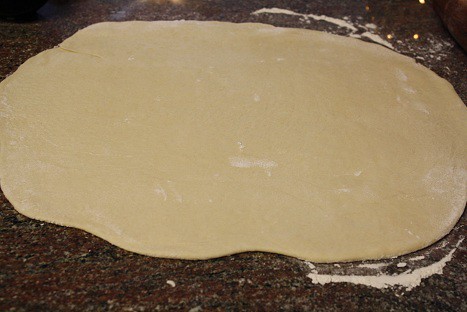
Then roll each dough ball into a large rectangle.

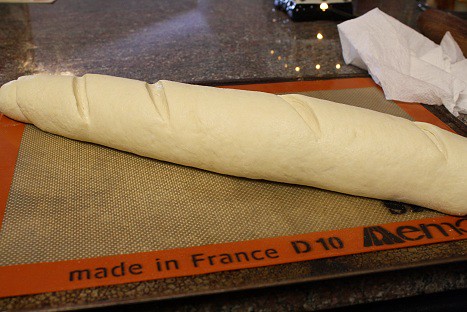
Once they are in a rectangular shape, roll them from one of the long sides (like you would roll up dough for a cinnamon roll). Then I brushed the edge with water and finished rolling them, so that they would seal better. You’ll want to taper the ends a bit, but don’t worry, they don’t need to look perfect. It just makes them look more homemade…or at least I like to tell myself that!
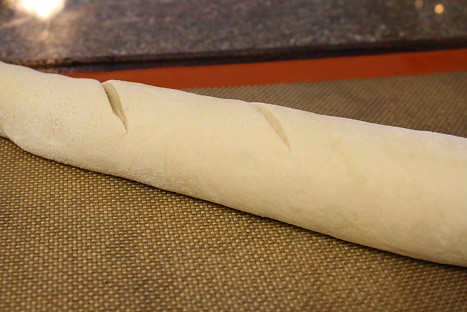
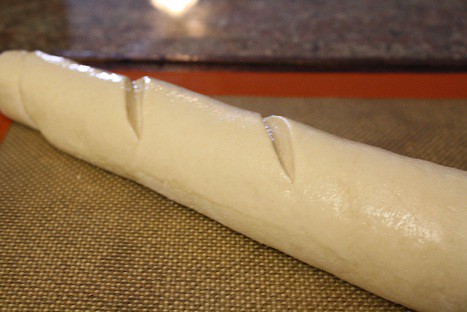
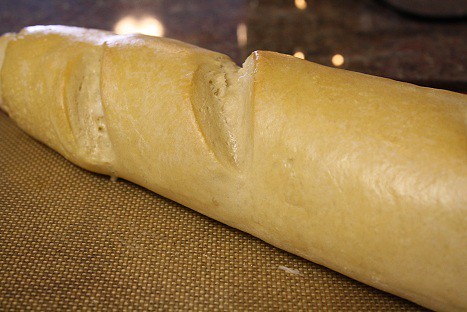
I placed each loaf on its own cookie sheet. You can either grease a cooking sheet or the simple thing is to use a Silpat and then you don’t need to worry about them sticking. Using a very sharp knife cut 4 or 5 slits across the top. They should be about 1/4 of an inch thick, but I think I was a little overzealous with the cutting…
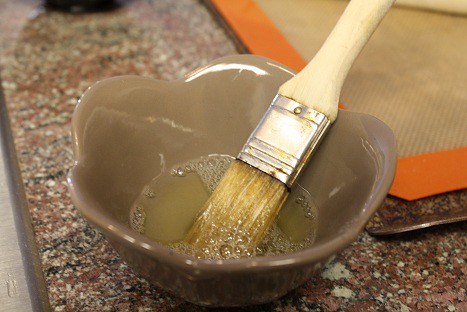
Whisk together one egg white and a tablespoon of water to make your egg wash.
Then brush the egg wash over the top and sides of each loaf.
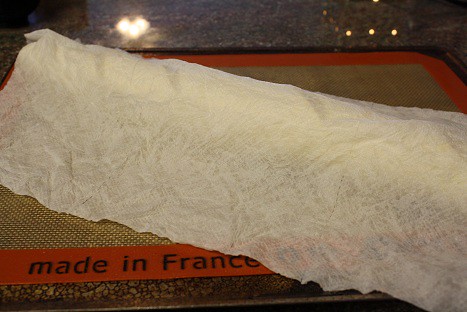
I then got some paper towels wet and wrung them out and laid them over each loaf and let them rise until they were nearly doubled for about 35 to 40 minutes. See I told you…lots of breaks. 🙂
Then remove the cloth and bake at 375 degrees for about 20 minutes.
Remove the loaves from the oven and brush them with the egg wash again. Then finish baking them for another 15-20 minutes.
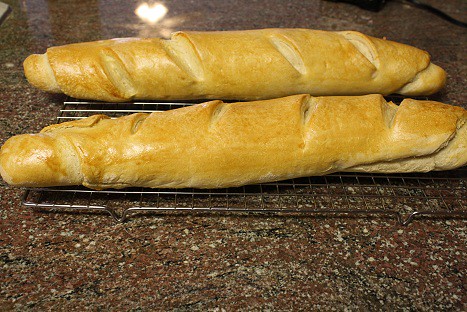
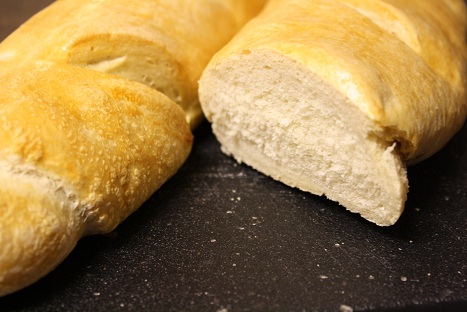
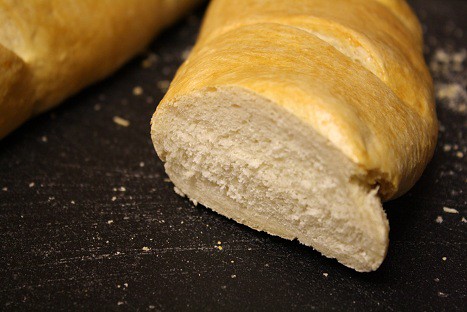
You’ll want want the bread to be golden brown and have a firm crust if you knock on it. Then let them cool completely on a wire rack. Yum!! Then dig in when the bread cools. I have eaten it on its own for the most part, but it’s great as a side to a soup or would make incredible garlic bread. Can’t wait for you to try this recipe!
Homemade French Bread
Ingredients:
5-6 cups all-purpose or bread flour
5 teaspoons active dry yeast
2 teaspoons salt {sea salt is wonderful}
2 cups warm water {110º F}
1 tablespoon butter, melted
1 egg white
1 tablespoon water
Preparation Instructions:
1.In a large bowl, combine 2 cups flour, yeast and salt. Stir in 2 cups warm water and melted butter, and beat until well blended using a stand mixer with a dough hook attachment. Stir in as much of the remaining flour as you can.
2. On a lightly floured surface, knead in enough flour to make a stiff dough that is smooth and elastic. Knead for about 8 to 10 minutes total. {Or knead in your mixer with the dough hook for 8 minutes on low-medium sped.} Shape into a ball. Place dough in a greased bowl, and turn once. Cover, and let rise in a warm place until doubled {about 30 minutes to 1 hour}.
3. Punch dough down, and divide in half. Turn out onto a lightly floured surface. Cover, and let rest for 10 minutes. Roll each half into large rectangle. Roll up, starting from a long side. Moisten edge with water and seal. Taper ends.
4. Grease a large baking sheet. Place loaves, seam side down, on the prepared baking sheet. With a very sharp knife, make 3 or 4 diagonal cuts about 1/4 inch deep across top of each loaf. Lightly beat the egg white with 1 tablespoon of water, and brush on. Cover with a damp cloth. Let rise until nearly doubled, 35 to 40 minutes.
5. Bake in a preheated 375º F oven for 20 minutes. Brush again with egg white mixture. Bake for an additional 15 to 20 minutes, or until bread tests done. If necessary, cover loosely with foil to prevent over browning. Remove from baking sheet, and cool on a wire rack.
Tips: For an even crispier crust, spray the loaves with water right before baking, then every 5 minutes for the first 10 minutes of baking.
Add-Ins: To make flavored bread, before rolling up the dough, add in the ingredients. The roll, sprinkle a little more on top, then continue on with the recipe.
* Butter, garlic and Parmesan cheese for garlic bread * Butter, cinnamon and sugar for cinnamon roll bread * Fresh or dried herbs * Cheddar or mozzarella cheese

Leave a Reply