
(Recipe found at the Food Network site here.)
Step by Step Instructions:
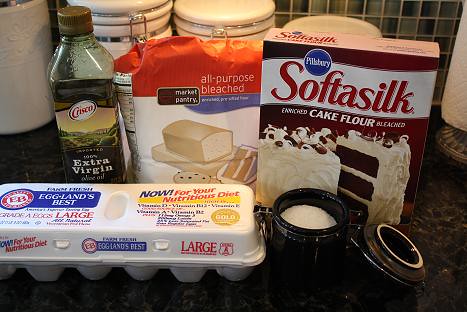
Here is everything you will need to make this easy dough: Olive Oil, All-Purpose Flour, Cake Flour (which you can get at most grocery stores right next to the all-purpose flour), Salt, and Eggs (egg yolks to be exact). Easy, right?
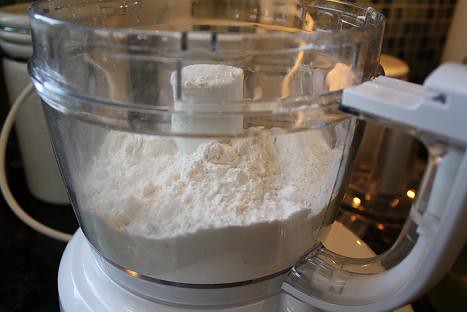
Start out by putting in 2 cups of cake flour and 1 cup of all-purpose flour in your food processor.
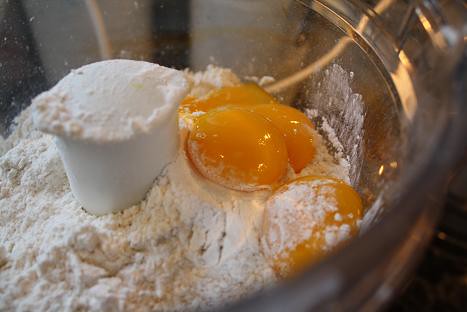
Then separate the yolk from the whites of four eggs, and add the yolks only to the food processor.
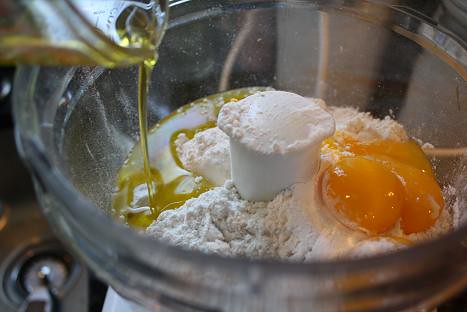
Pour in 1/4 cup of olive oil to the flour and egg yolks.
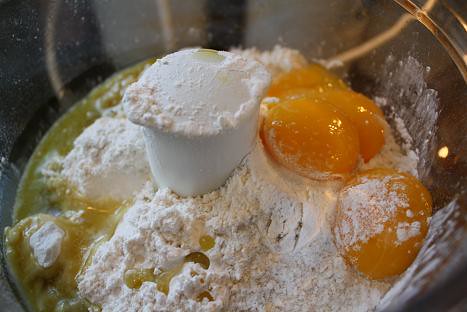
Finally add a good pinch of salt to the food processor…
…and begin mixing all of the ingredients together…
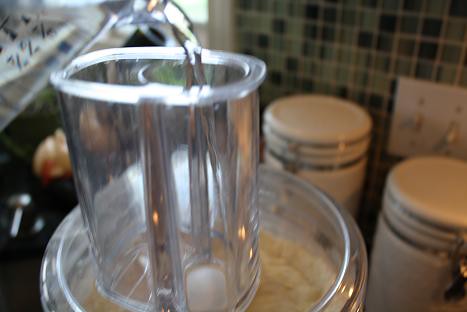
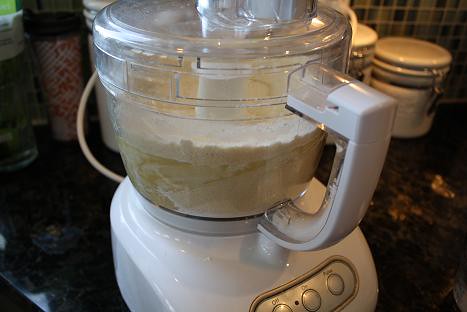
…and pour in a little bit of water at a time (there is no exact amount, so just play around with it…sorry for the blurry photo)…
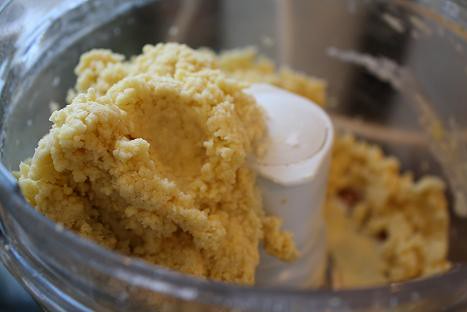
…until the dough looks like this. It should be starting to come together and if you touch it, you should be able to form a ball with it.
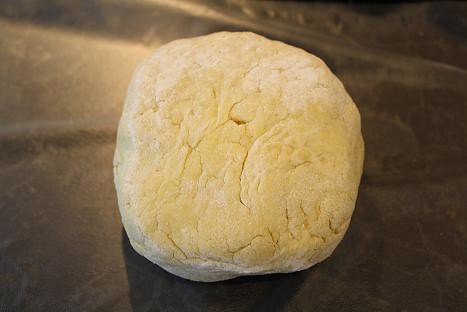
Then flour a work surface, pour the dough onto the floured surface and knead it into a ball shape as you see above. Go ahead and wrap the dough in plastic wrap and pop it in the fridge for at least 30 minutes. I made this over lunchtime and pulled it out before dinner when I was ready to roll out the dough.
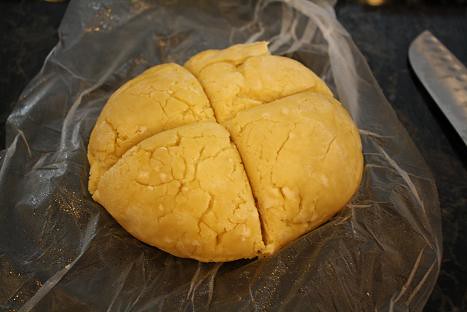
When the dough is chilled and you’re ready to work with it, begin by taking a knife and cutting the dough into fourths.
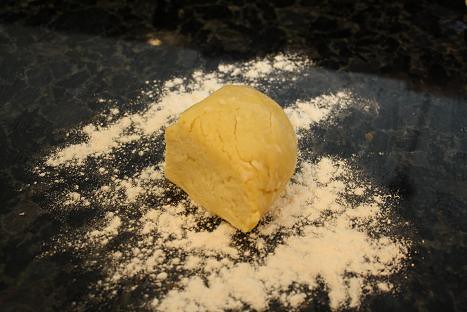
I worked with the dough a quarter at a time and ended up using half the dough for fettuccine and the other half for my ravioli. Just put a little flour on your work surface and form it into a flattened rectangle.
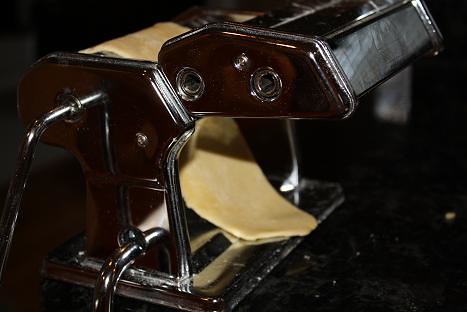
You will then keep the dough well floured so it doesn’t get sticky and put the rectangle into the pasta press on the lowest setting. Run the dough through each setting until it easily passes through the press. Then you know it’s ready to move to the setting that is one higher. Continue doing this until you get your desired thickness.
For the Fettuccine:
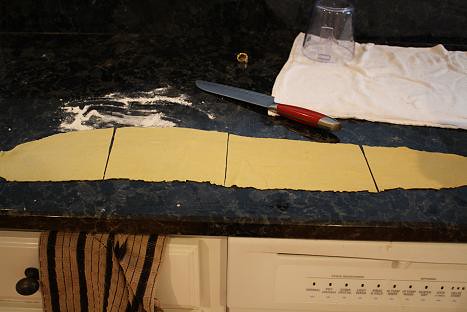
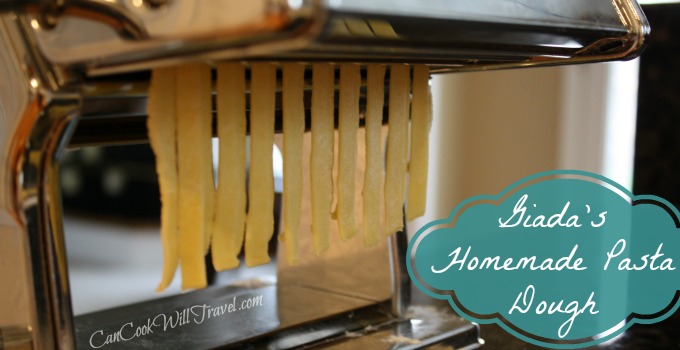
Because I did not want giant pieces of fettuccine, I cut the pressed dough into about four segments (however long you want each piece) and then ran each segment through the fettuccine part of the pasta press…
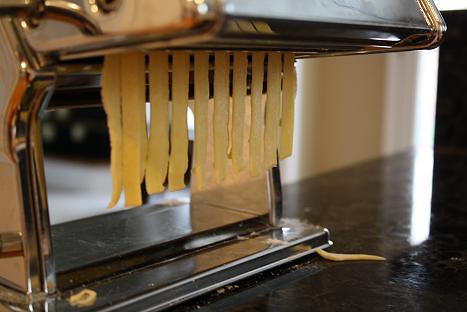
…how gorgeous is that?! Mama mia!!
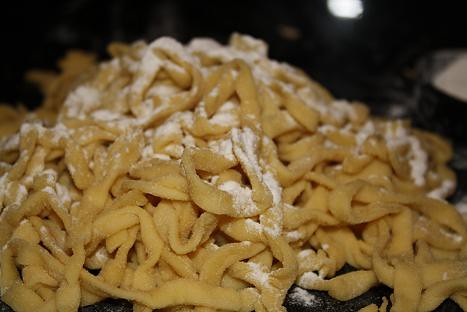
Then I piled the noodles up and kept them well floured so they didn’t stick together. If you have it, you can use a pasta drying rack, to dry the pasta (but I do not have one). When you’re ready, toss them into a pot of boiling water for two or three minutes until they look done and float to the surface. Simply delicious and delightfully rustic and hearty!!
For the Ravioli:
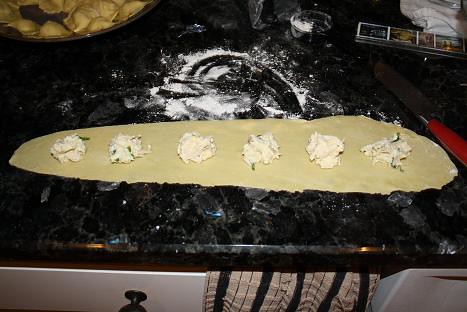
Once your dough is rolled out to a good size, then place one teaspoon of filling right down the middle of the dough and space them about an inch apart.
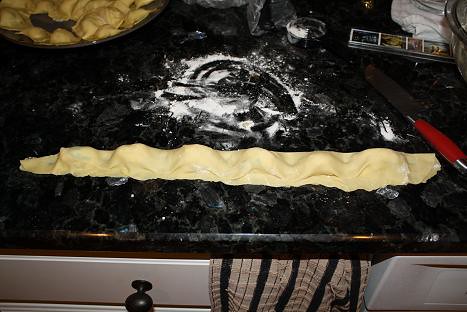
Then pull the dough over the filling and lightly press around the filling as you see above.

Using a knife or a pizza wheel, cut in between the filling so that you have ravioli cut up.

Then press firmly around the filling to ensure that the dough has made a nice seal so that the filling doesn’t leak out when you cook it. Above you’ll see my finished ravioli. It’s now time to cook the ravioli, which you will want to do in two batches. It literally takes 2 or 3 minutes, and it will tell you when it’s done. When you put the ravioli in the water, it will float to the top once it’s cooked as you see above.

When the first batch of ravioli was cooked, I used my handy dandy Spider utensil to drain the pasta and divide it between my dishes. I place a little bit of sauce on top of the ravioli to keep it from getting cold and to also help the pasta to not stick together. Then cook the remaining ravioli and serve it.
Ingredients:
2 cups cake flour
1 cup all-purpose flour
4 egg yolks
1/4 cup olive oil
pinch of salt
Preparation Instructions:
1. Begin by mixing all of the ingredients in a food processor.
2. Add water slowly until the cough can form a ball. It’s best to add a little at a time.
3. Knead the dough on a lightly floured surface until you can form a ball.
4. Wrap in plastic wrap and refrigerate for at least 30 minutes.
5. Once the dough is chilled, you can cut it into pieces and use as you desire to make any type of pasta you desire.
32
If i dont have a food processor what else can i use
I think you’d have the best luck with a food processor because of how quickly it works the dough. If you have a good blender, you could try that but I can’t promise it would quite do the trick.
Hi! If I don’t have cake flour, can I use regular flour?
Hi Riss! You can! The general rule of thumb is for every cup of cake flour a recipe calls for to do this: Measure out a cup of regular flour and then remove 2 tablespoons. Add 2 tablespoons of cornstarch (to replace the flour you just removed) and sift the two ingredients together. Hope that helps!
Mary, when you made the pasta dough, did it look like it did in the photos above? You may be at a different altitude and need slightly more oil perhaps? Also be sure you refrigerate it before trying to roll it out. And when you run it through the pasta machine, start at the lowest/widest setting.
I used Giada's homemade pasta recipe and when I put it through the pasta machine rollers, it shreds. What did I do wrong and how can I correct it?
this was my first time making pasta dough from scratch. your recipe worked like a charm. and your upbeat explanation helped allay any panic.. there are SO many recipes out there. this is one i will use again and again and suggest to others too. thank you, from the woods of Ontario, Canada.