

(Recipe can be found at the site Chocolate Covered Katie here.)
Step by Step Instructions:
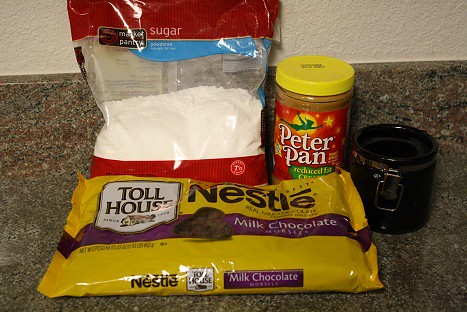
It doesn’t take much to make your very own chocolate peanut butter eggs. You will need the following: Powdered Sugar, Creamy Peanut Butter, Salt, and Milk Chocolate Chips.

First thing to do is to put 1/4 cup of powdered sugar, 1/4 cup of peanut butter and a dash of salt in a small bowl.
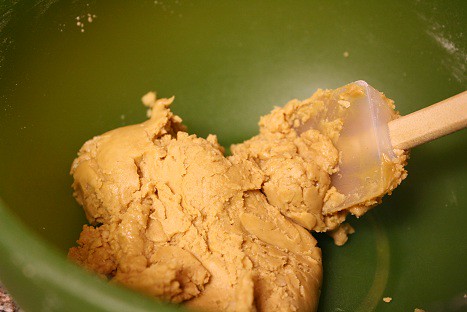
Then combine the ingredients until they make a crumbly dough. Definitely taste it and add more salt if needed so it’s not too sweet.
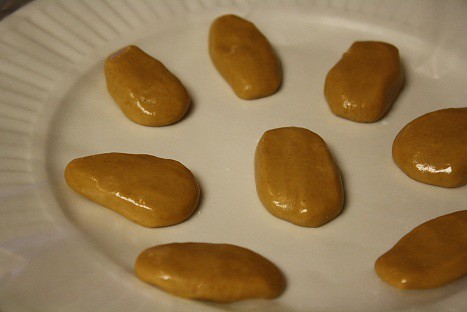
Depending on how big you want your eggs, divide the dough and make 6-9 eggs. I went for flattened egg shapes, since that’s how the traditional Reese’s treat is. I placed mine on a plate with a layer of waxed paper on it. Then I popped them in the freezer for at least an hour so the eggs are pretty solid.
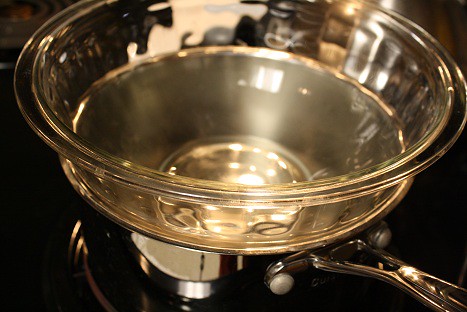
Then when you’re ready, it’s time to melt the chocolate. I use a make-shift double boiler by putting a small amount of water in a medium-sized saucepan and put a glass bowl over it. You DO NOT want the water to touch the bottom of the bowl. (Sorry, didn’t mean to yell there…but it’s important.) And bring the water to a boil.

Once the water is boiling, add your chocolate chips. I didn’t measure how much I used, but it was probably about a cup. You’ll want enough that you can dip the eggs in them.
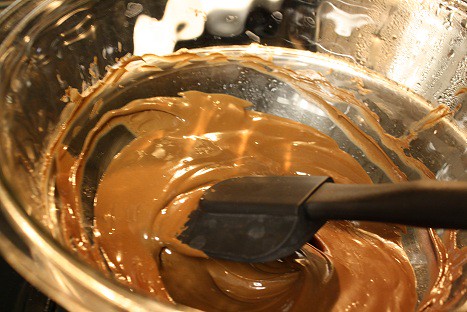
Using a heat-proof spatula, I stirred the chocolate until it melted into a smooth sauce…yum!

I removed the eggs from the freezer and dipped each one in the chocolate sauce and made sure it was nicely coated. Then I placed them on some waxed paper. After all of the eggs were coated, I placed the sweet treats back in the freezer to set up.
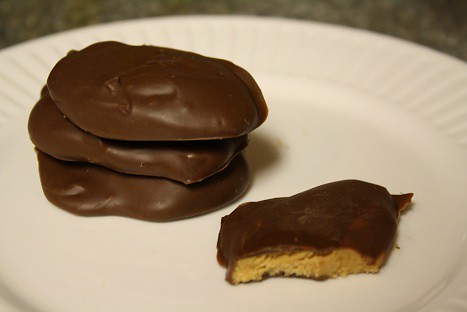
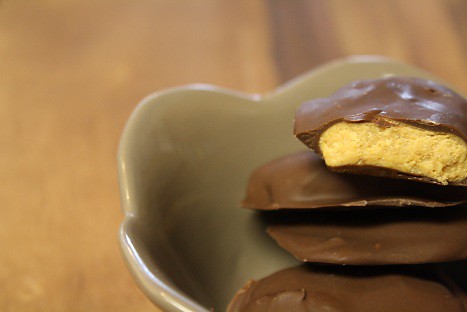
Then once these guys have set up, eat away. When I took them right out of the freezer, I let them sit out for a couple of minutes so they weren’t as frozen. These tasted fabulous and just like the real thing. So now I can have my peanut butter eggs year round!! (That’s probably not a good thing, but oh well!) As you can see, I couldn’t wait to dig in…
Makes 6-9 eggs
Ingredients:
1/4 cup peanut butter (or any nut butter)
dash salt (I also use salted pb)
1/4 cup powdered sugar or sugar-free powdered sugar
milk chocolate chips
Preparation Instructions:
1. Mix the first three ingredients together in a bowl until it becomes a crumbly dough. (Note: if your nut butter is from the fridge, let it sit awhile—or microwave it—so it’s easier to mix. Also, I put the dough into a plastic bag to shape into a ball with less mess.) Add the extra 2 tbsp. sugar/sf sugar if it’s too gooey, and add a little more pb if it’s too dry. (Different brands of peanut butter will yield different results.) Taste the dough and add a little more salt if desired.
2. Form dough into flat little ovals (or egg shapes, but real Reese’s eggs are flat). Freeze the dough for an hour or so, until it’s hard.
3. Meanwhile, melt the chocolate using a double boiler method until it’s a smooth chocolate sauce. Then take one “egg” out of the freezer at a time (so the rest stay cold) and cover in chocolate. I used a spatula but I think next time a fork would make my life less messy. Immediately return covered egg to the freezer and let harden. Best to store these in the freezer as well. You can thaw a little before eating, or eat when frozen–either way, they’re awesome!
0
Leave a Reply